
Good morning! I'm kicking off this year with my first card card - this one created for Pinkfresh Studio's YouTube Live yesterday. I'm also going to try to keep up better with posting these. I know there will probably be times that life will get in the way, so I know I won't do it perfectly, but I will do my best! You can watch the video replay HERE if you want to see more details and watch this card come together.

Here is the replay of the live video if you'd like to watch it here:
I absolutely love how these rich and deep tones came together for this card! Funny story - I couldn't decide between using Persimmon and Berrylicious, or Berrylicious and Regal Kiss for the roses - then I realized there were lots of roses, and I could do BOTH! So I did! :)

I started off by heat embossing the Indigo Roses stamp set on a panel of white cardstock. Watch the video to see a cool trick for using the longer stamp sets with a standard size MISTI stamping tool! I did make a mistake on the first version, and had to restamp it - so you can learn from my mistake as well.

Then I used the new mini blending brushes (that should be releasing soon - we can't wait!) to add color to each of the 4 stencil layers in the coordinating Indigo Roses stencil set. In addition to the colors I mentioned above, I used Olive and Evergreen for the leaf layers.

Next, I pulled out the same tones as for the roses, and used just one layer of the Double Chevron layering stencil set. I blended the 3 colors over the background, merging them together for smoothly blended effect.

Next, I die cut that panel with the Slim Ornate Banner die (watch the video for another fun tip on cutting that out with perfect placement!) - as well as die cutting all those lovely floral images with the coordinating Indigo Roses die.

I popped that stenciled panel up with foam adhesive on a white 4" x 9" cardbase, then planned the placement of the florals, before stamping to add my sentiment from the Indigo Roses stamp set in Detail Black.

Next, I fluffed up the edges of each of the florals, and adhered them with liquid glue, tucking and arranging from the top downwards. It ended up making a pretty swoosh of florals down the length of the card!

Finally, I embellished with a mix of Gold, Butterscotch, and Blossom Glitter Drops, and used the NEW Embellishment Tool that is going to be part of the February Create and Connect Event Kit - it will be released sometime after the event for general purchase. But if you want to get your hands on it sooner, we will have a brief window for registration opening up soon, so keep your eyes open for it!

And there you go - this card is finished! And while I had no idea what the finished card was going to look like, it ended up being one of my very favorites!

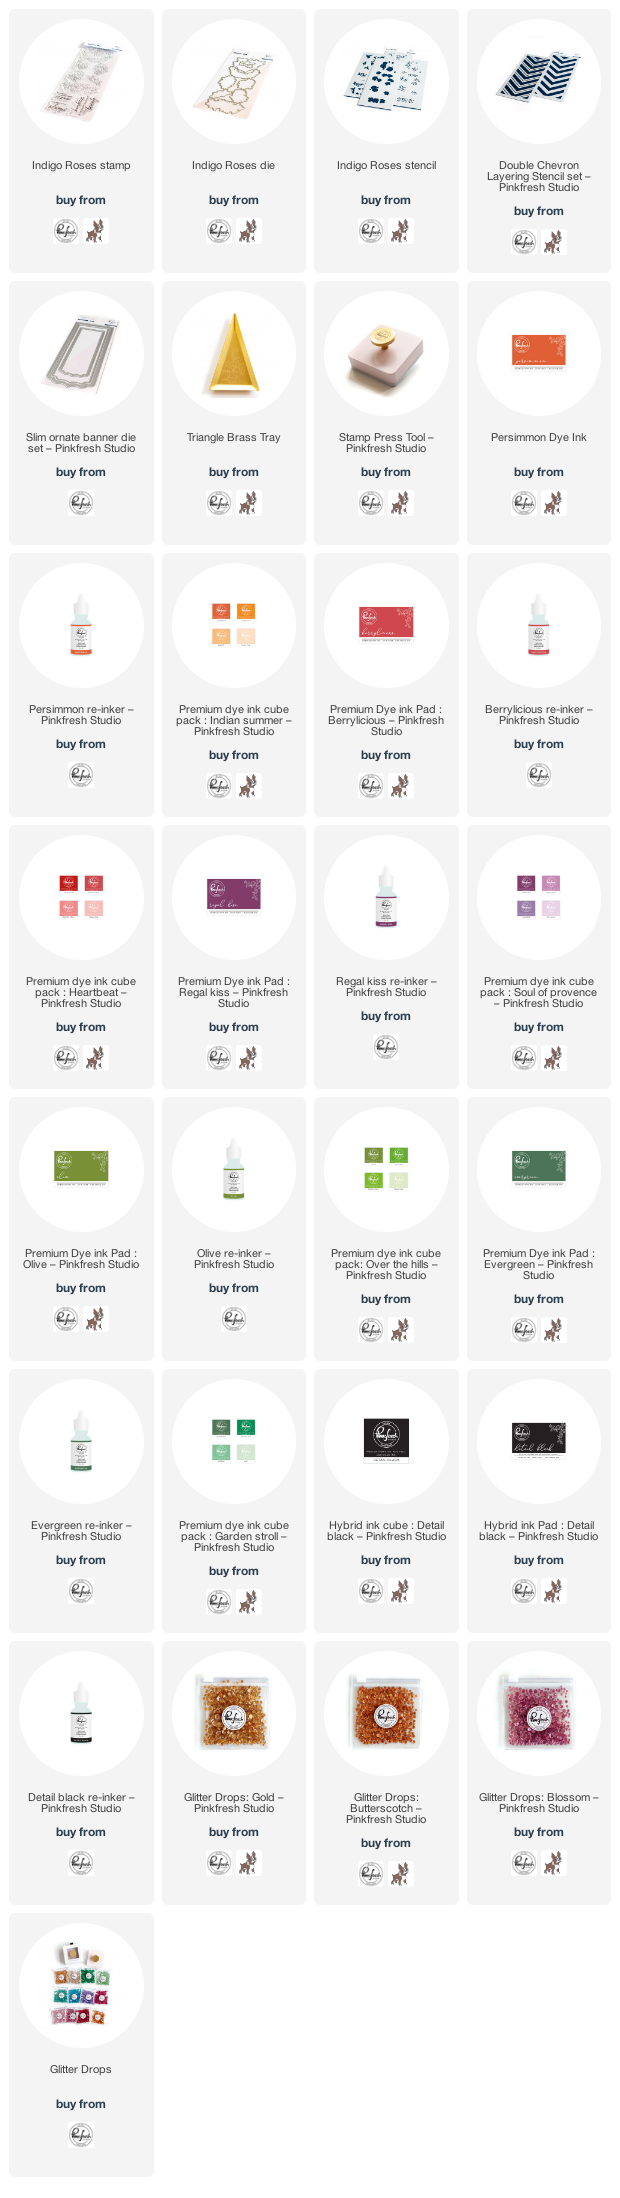
Product links are all below - including affiliate links where possible, which simply means that if you use one of the links below, I receive a small commission at no additional cost to you. Thanks so much for supporting my blog, and stopping by! Have a wonderful day!!!
No comments:
Post a Comment