
Good morning! I'm doing my best to catch up posting ALL the final cards from previous Pinkfresh Studio's YouTube Lives - and unless I've forgotten something, I think this is the LAST one! This one is truly a catch up one, since it is from a couple months ago. And, as I have sometimes done before, I created this one card live, then also created a second one with the leftover pieces. Keep scrolling to see the other one! You can watch the video replay HERE if you want to see more details and watch these cards come together.

Here is the replay of the live video if you'd like to watch it here:
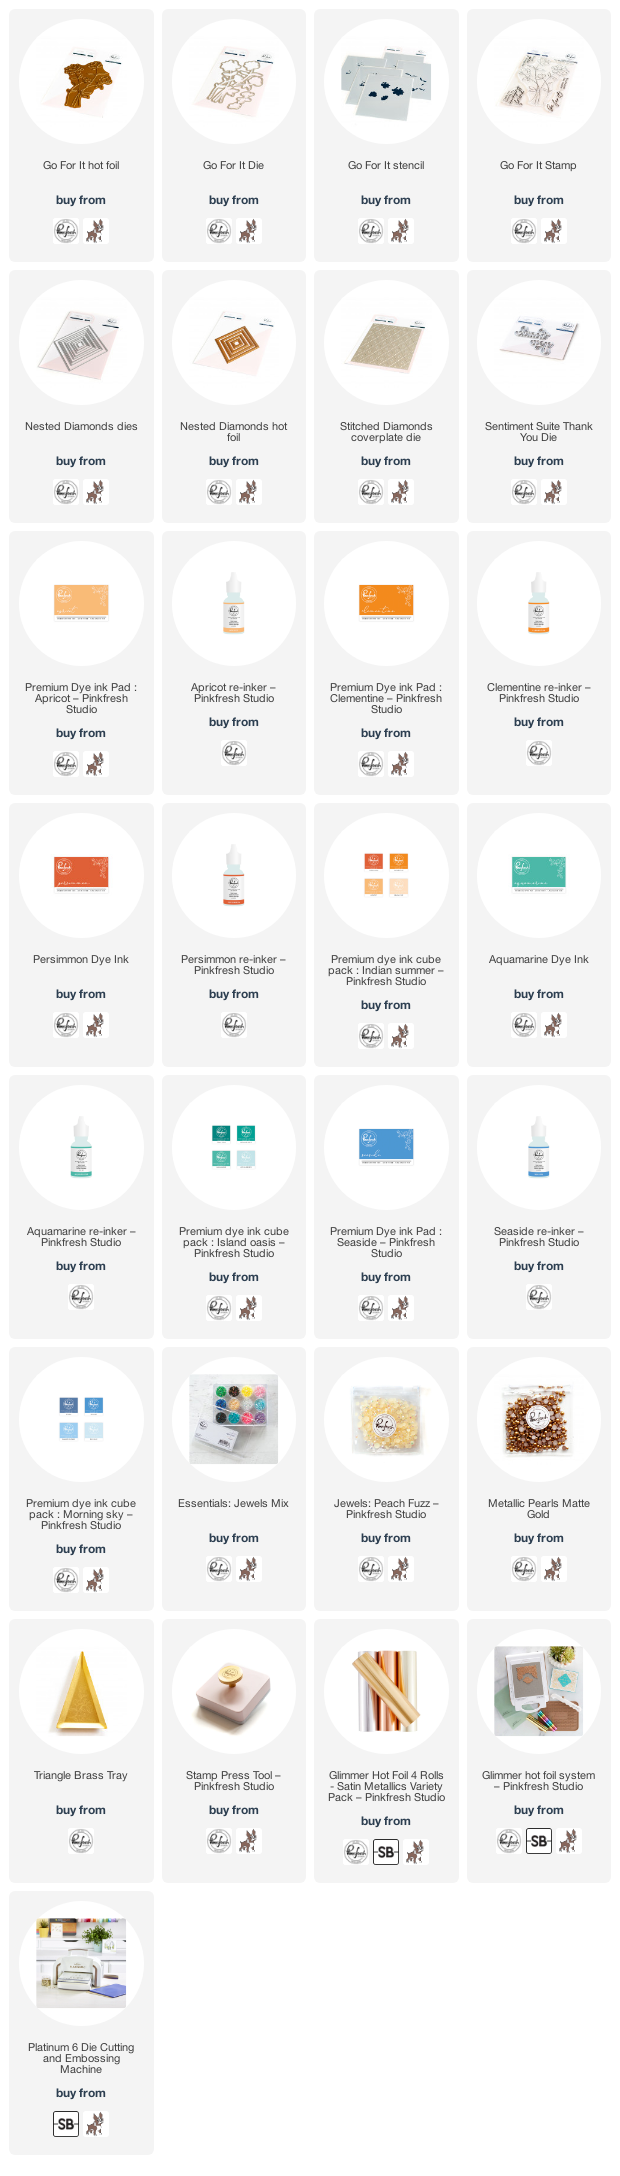
I had fun with the combo of oranges and rich teal tones on this card!

I created a deep teal cardbase, and used the Stitched Diamonds cover plate to add some detail to the background. Thanks to the fact it doesn't have a cut edge on it, I could use it directly on the cardbase which was fun!

I used Nested Diamonds hot foil and one of the Satin Metallic foils to create a diamond frame, using the Nested Diamonds dies to cut the outer edge only, and popped it up on the background.

I used the Go For It hot foil plate to foil the flowers, then colored them in with the coordinating layering stencils. I used oranges for the florals, then a mix of aqua and blue for the greenery - which mixes together beautifully!

I used liquid glue at the base of the florals, then a touch of foam adhesive behind each of the flowers for dimension.

Sentiment is heat embossed with the Go For It stamp set, then die cut with the coordinating die, and of course, popped up with foam adhesive! Finished off with a few Peach Fuzz jewels to embellish! Love how they fit on there super neutral, but add a touch of sparkle!

Of course, I had to use the Solid Hot Foil plate to foil the reverse of the florals and the diamond, and then I needed to use those on a card as well! I also was able to use the negative cut from the diamond on the first card.

I used the Stitched Diamonds coverplate die on the cardbase again, then attahced the negative cut from the first card over the top with foam adhesive.

I die cut both sides of the solid foiled Nested Diamond to tuck into that frame space. Before adhering it, I tucked in the solid foiled florals, trimming the bottom as necessary so they would fit.

The frame was added with foam adhesive again, and I tucked most of the tops of the florals over the top edges of the frames, using foam adhesive as needed.

For the sentiment on this one, I actually used the Sentiment Suite: Thank You die, using vellum for the shadow layer, and actually die cutting the thank you from some of the center solid foiled pieces! Wonderful way to not waste, right?

I adhered that in the corner, using tiny dots of liquid glue under it to adhering it down.

Finished off with a few Matte Metallic Gold Pearls - they match the satin foil so perfectly!

I love how this is similar, but adds a certain elegance because it is completely white and gold!

Product links are all below - including affiliate links where possible, which simply means that if you use one of the links below, I receive a small commission at no additional cost to you. Thanks so much for supporting my blog, and stopping by! Have a wonderful day!!!
No comments:
Post a Comment