
Good morning! Dropping by today to share a card made earlier this week for Pinkfresh Studio's YouTube Live - I used some newly released items, paired up with some older releases, and a bright and bold color palette to create this happy slimline card! You can also see me make an epic mistake...live! And then some speed stenciling to re-do what I messed up and finish the live on time. I was sweating a bit to be honest! I'm also sharing a photo below of my mistake - since I know it didn't show up perfectly in the live video. :) You can watch the video replay HERE if you want to see more details.

I used the beautiful Heartfelt Thanks layering stencils to start this card off - using a bright and happy color combination for bold and fun blends! Once I had stenciled it all, I shared a fun trick for perfect alignment of the stamp image over the top of the stenciling using the outside of the regular size MISTI. I then die cut it down with the smaller size Slim Diagonal Stitched Rectangles.

For the sentiment on this card, I hot foiling the second largest size of the Nested Circles hot foil plates, and die cut with the coordinating Nested Circles dies to create a hot foiled border around the framed circle. I also hot foiled the Best Wishes sentiment - using pink foil to color coordinate with the stenciled flowers. I LOVE this color of foil on this card - so fun!

As I assembled the card, I also added a layer of foil paper under the outer framed portion, before adhering it to my white cardbase. I thought about a colored cardbase, but loved the idea of the white so that those lovely stenciled florals could totally pop off the background! And the gold foil layer was the perfect way to make it pop off the background even more, and tie into the foiled circle frame as well.

I popped the circle up with foam adhesive, the Best Wishes has a couple extra die cut layers underneath it for dimension, secondary sentiment is from the Heartfelt Thanks stamp set, and I finished this card off with a few lovely Crystals adhered in a row on the bottom of the sentiment frame!

Now, in the live video...I don't think it showed up nearly well enough how badly I messed up the first panel I had stenciled. So - here it is for photographic proof, alongside the finished card with the correct stamping! Just so you can see why I went all "perfectionist" and had to redo the panel. :)

All in all, I was so happy with how the finished card turned out! Worth the redoing of the stencil, don't you think?

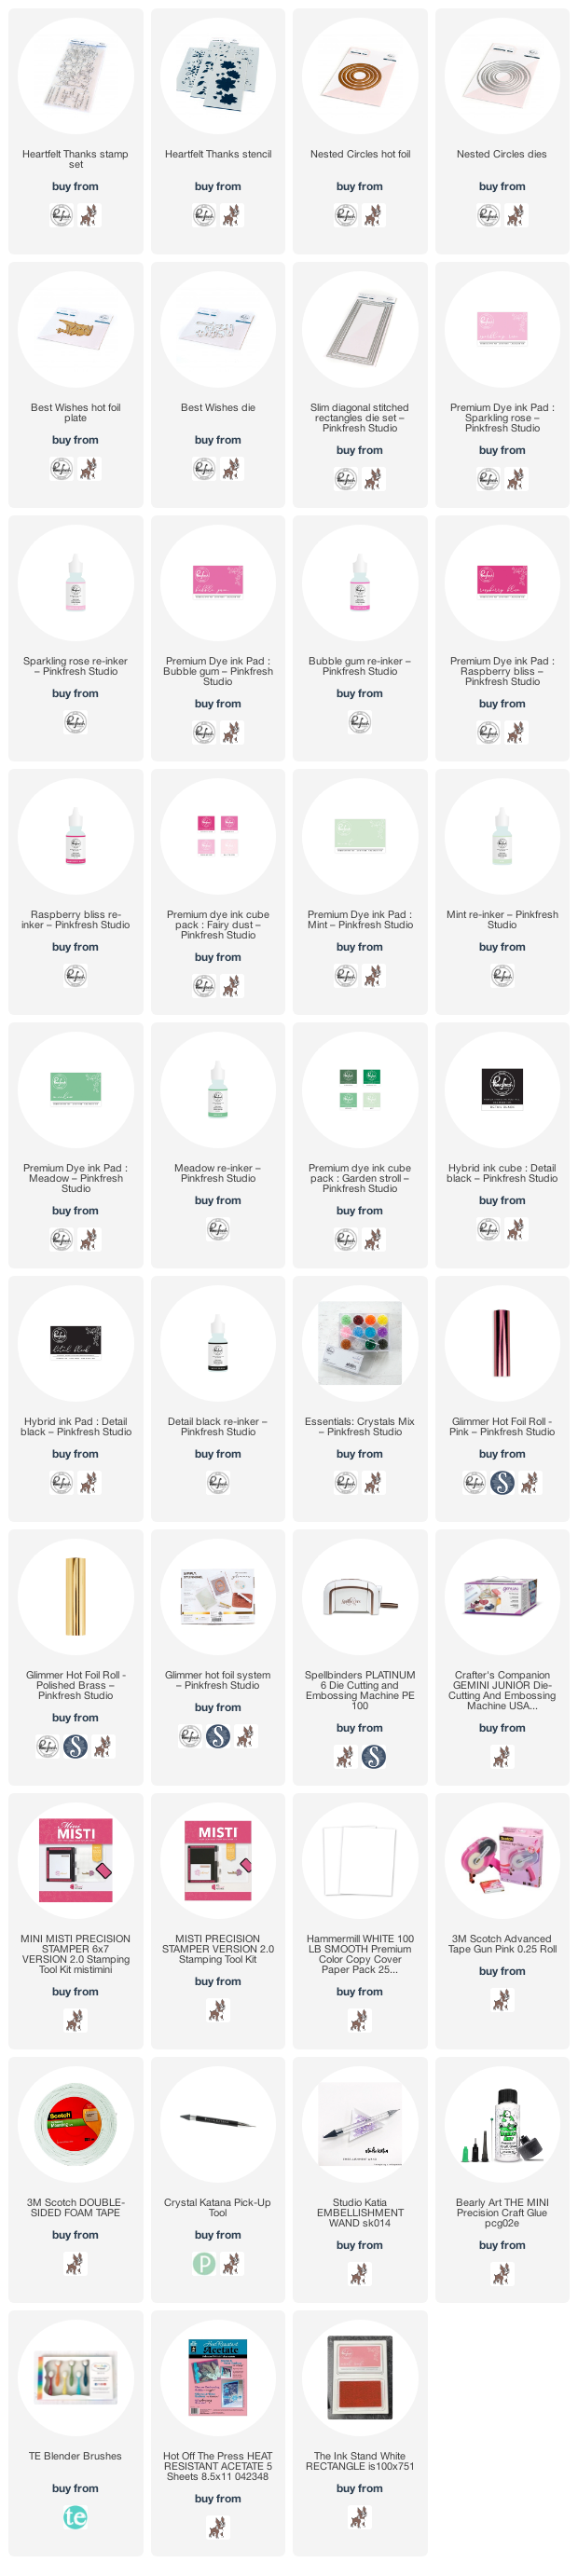
Product links are all below - including affiliate links where possible, which simply means that if you use one of the links below, I receive a small commission at no additional cost to you. Thanks so much for supporting my blog, and stopping by! Have a wonderful day!!!
No comments:
Post a Comment