Showing posts with label tim holtz glitter. Show all posts

Monday, October 12, 2026

Frosty Tree Blooms - Simon Says Stamp Sending Cheer Release

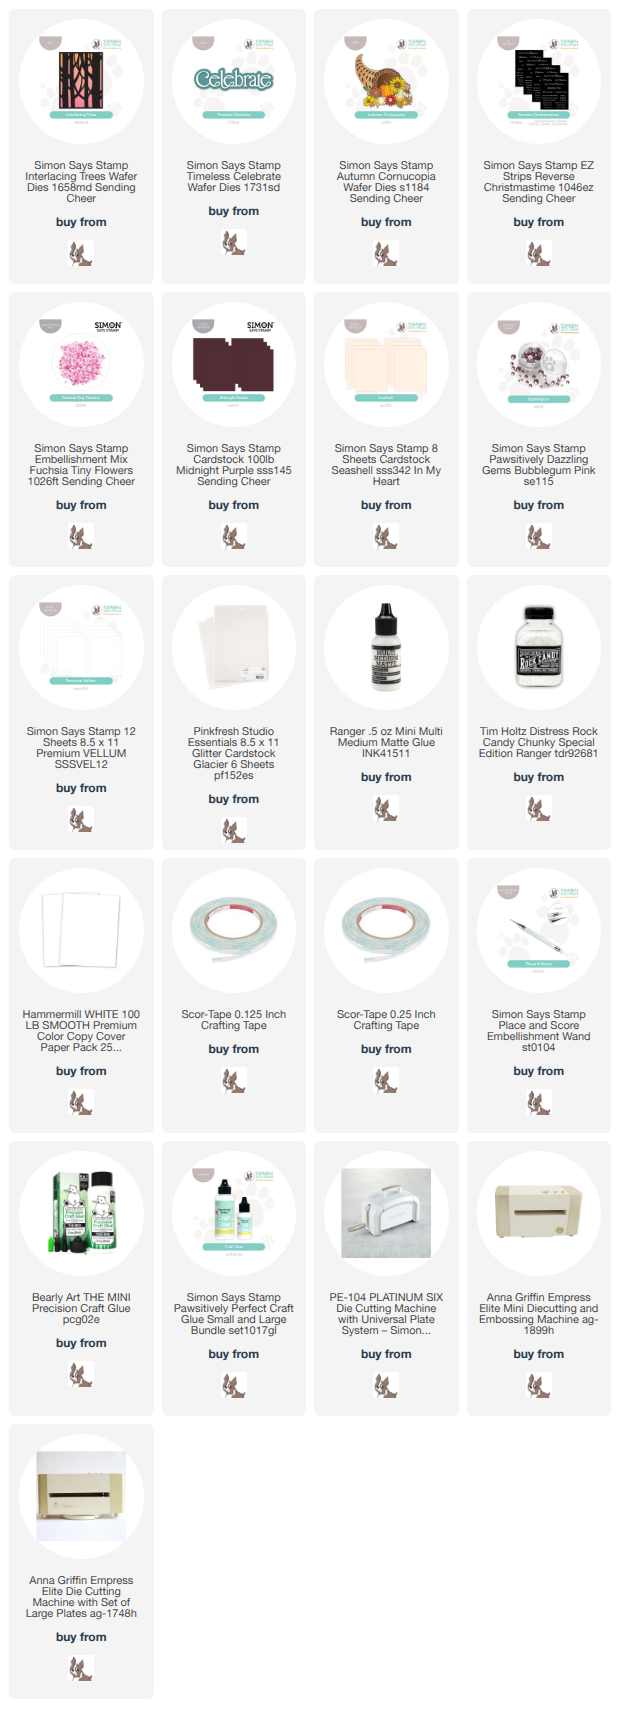
Good morning! It's been a while since I made an edge to edge shaker card - but this one was so fun to put together! I used a few items from the BRAND NEW Simon Says Stamp Sending Cheer Release - and while these trees could fit a fall or winter theme really well, I went for a spring cherry blossom vibe! Love this new lovely cardstock color, and how well it pairs with soft pinks and sparkle!


I cut the new Interlacing Trees die from the new Midnight Purple cardstock. I used Seashell cardstock to tuck behind it, and used a card sleeve (stamp packaging works great as well!) to create a shaker element with it, filling it with the brand new Fuchsia Tiny Flowers embellishment mix. I added some Chunky Rock glitter for a touch of extra frosty sparkle! I cut a few tiny flowers from Autumn Cornucopia die from white glitter cardstock, and sprinkled a few of those around, adding a Bubblegum gem to the center of each one. Sentiment is the new Timeless Celebrate die - cut from vellum and more white glitter cardstock - and a secondary sentiment from Reverse Christmastime EZ Strips sentiment strips. Here is a closer look at the finished card:


Product links are all below - including affiliate links where possible, which simply means if you use one of the links below that I receive a small commission at no additional cost to you. Thanks so much for stopping by! Have a wonderful day!!!

Friday, October 2, 2026

Party Balloons - Simon Says Stamp

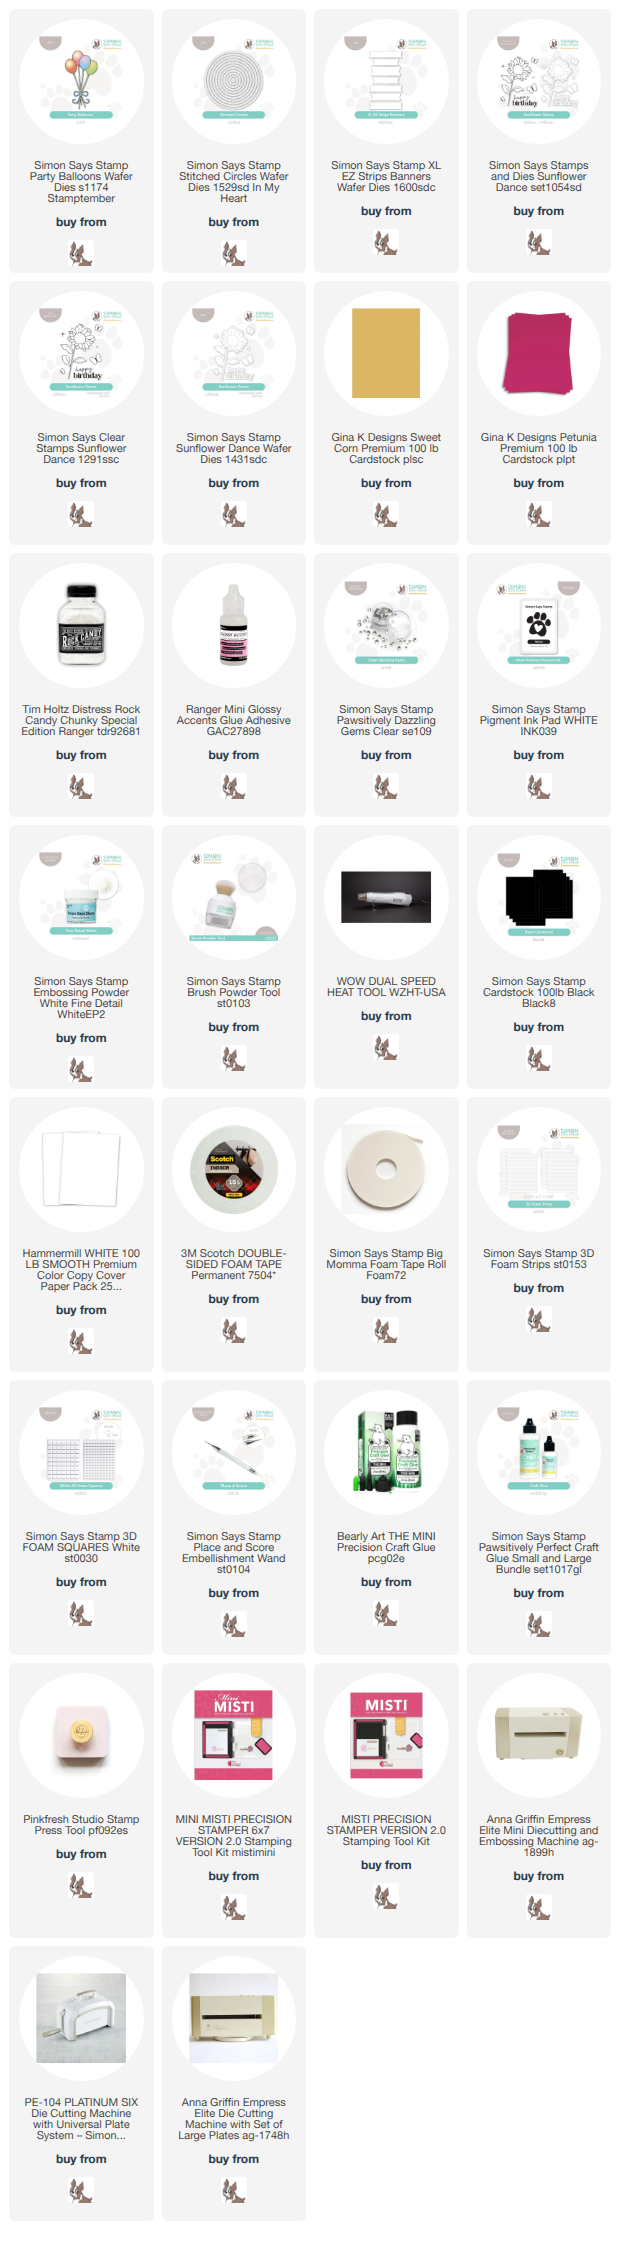
Good morning! Whew...September was fun, but what a busy whirlwind of a month! As we roll into October, I realized I have a card I created with the release from Simon Says Stamp at the beginning of last month, and haven't had enough time to catch my breath and get it posted. You can never have too many birthday cards, and this one is a bold and bright color combo with a bit of sparkly glitter for fun! 

I started off with a partial cut of the largest Stitched Circles dies from Gina K Sweet Corn cardstock as a focal point on my white cardbase, and rounded off one corner of the cardbase. I then die cut and assembled the Party Balloons die using Black cardstock and Gina K Petunia cardstock. I added that onto my card, along with a plain die cut XL EZ Strips Banners, a heat embossed sentiment from Sunflower Dance, and a few Clear Dazzling Gems. I layered on a good coat of Glossy Accents on the balloons, then sprinkled with a heavy dose of Chunky Rock Candy glitter to finish off! Here are more photos of the finished card:


Product links are all below - including affiliate links where possible, which simply means if you use one of the links below that I receive a small commission at no additional cost to you. Thanks so much for stopping by! Have a wonderful day!!!


Wednesday, February 4, 2026

Love Ya Heart Shaker - Simon Says Stamp

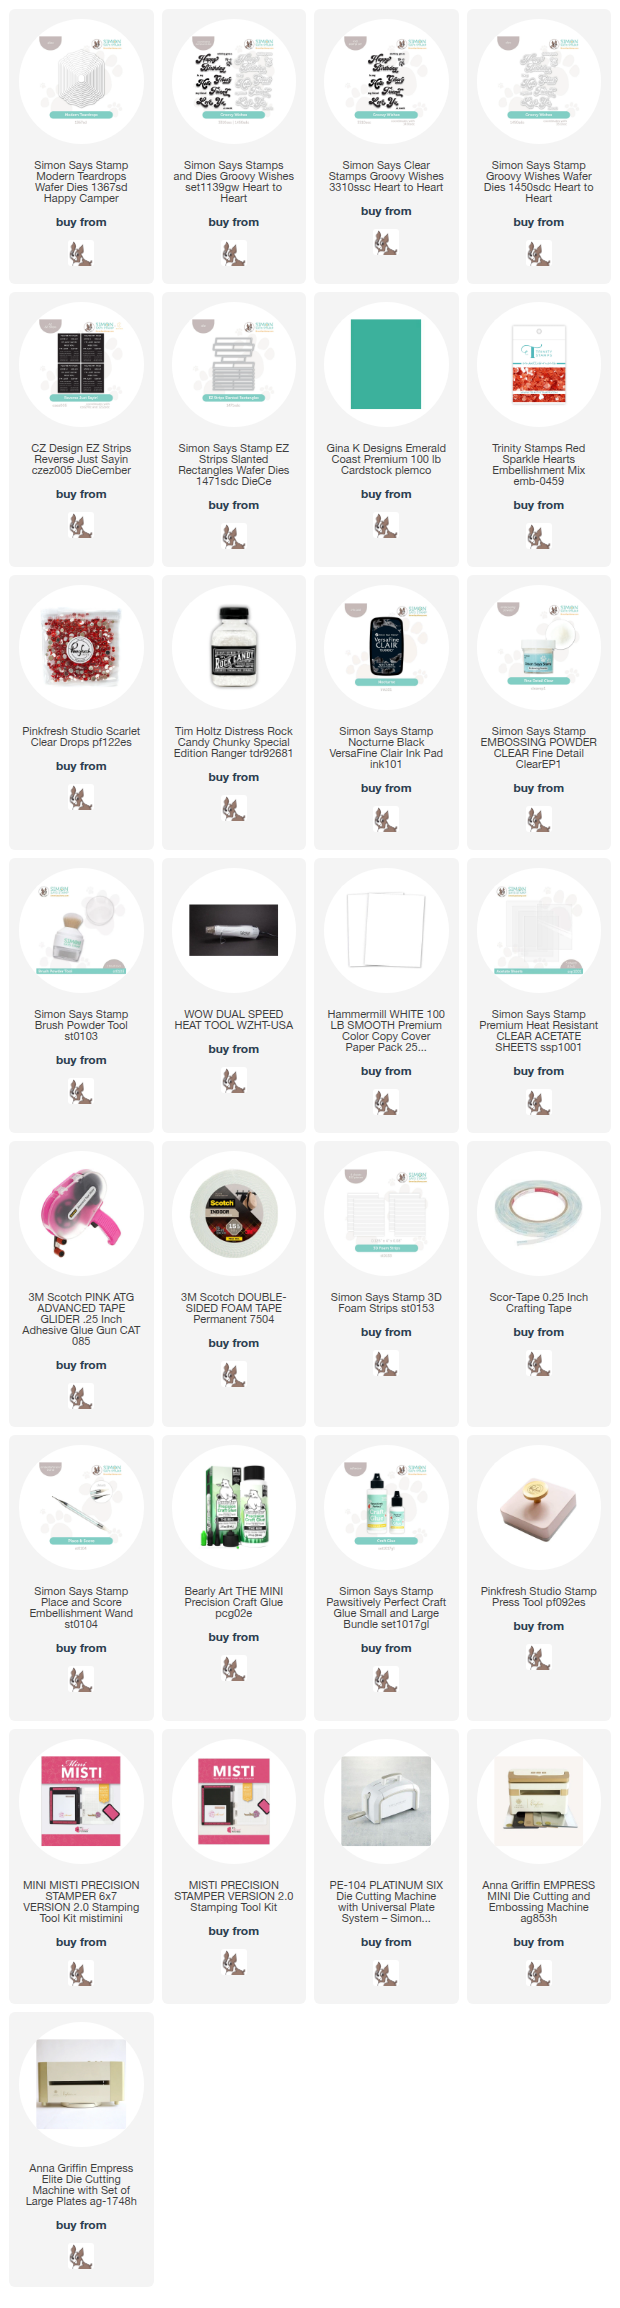
Good morning! Yesterday I talked about following a cardmaking trail - and today is the next part of the journey along that trail! I used a negative die cut from something I cut from yesterday's card (you can see it HERE) as the starting point for the card I'm sharing today! And a sparkly love theme shaker card is such a fun different direction to go, don't you think? As always, I used lots of supplies from Simon Says Stamp to put this card together!


I love a reverse stack of die cut frames, especially when I'm able to turn it into a shaker card! For this one, I used the Modern Teardrops die. I had die cut a frame for another card from Gina K Emerald Coast cardstock, so I decided to use the negative space as the base for a shaker card. I die cut another slightly larger frame from white cardstock, and stacked them together. I filled my shaker with some ADORABLE new to me Trinity Stamps Red Sparkle Hearts and added a good dose of Chunky Rock Candy Glitter to make it extra sparkly! I added a sentiment from Groovy Wishes and a secondary sentiment from Reverse Just Sayin' sentiment strips die cut with the EZ Strips Slanted Rectangles die. Finished off with a few Pinkfresh Scarlet clear drops that perfectly coordinated and brought the sparkle outside of the shaker! Here are more photos of this fun shaker card:


Product links are all below - including affiliate links where possible, which simply means if you use one of the links below that I receive a small commission at no additional cost to you. Thanks so much for stopping by! Have a wonderful day!!!


Sunday, December 28, 2025

Cozy Cocoa Joy - Simon Says Stamp

Good morning! I got a bit of time to craft after the holidays, so have a couple cards to share to finish off the year! I love this layering stencil and die set from Simon Says Stamp - and paired it with some soft and pretty ink colors and other supplies to bring it all together!


I love how this turned out so cozy, but still in soft pastels! I used the Warm Mug stencil and die set, and die cut the image first, then used my Crafty Tacky mat to hold it in place while I added color with each stencil layer. This made it super easy to line up all the stencil layers. I used Cheeky, Blush, Jade, Surf, Buttercream, Latte, and Cappuccino inks. I also used some Lawn Fawn white stencil paste for the marshmallow stencil layer, and sprinkled on some Rock Candy glitter while that layer was still wet. I used some of the leftover ink on my blending brushes to add some soft color to two corners, rounded off one corner, and stamped my sentiment from the cute little Your Joy stamp set. I then trimmed off a bit of my stenciled image on the bottom and left side, then adhered it on my card base with a touch of foam adhesive. Finished off with a few Gold Dazzling gems for some soft sparkle! Here is a closer look at this finished card:


Product links are all below - including affiliate links where possible, which simply means if you use one of the links below that I receive a small commission at no additional cost to you. Thanks so much for stopping by! Have a wonderful day!!!


Monday, November 10, 2025

Wrapped with Love Limited Edition Holiday Gift Giving Kit - Simon Says Stamp

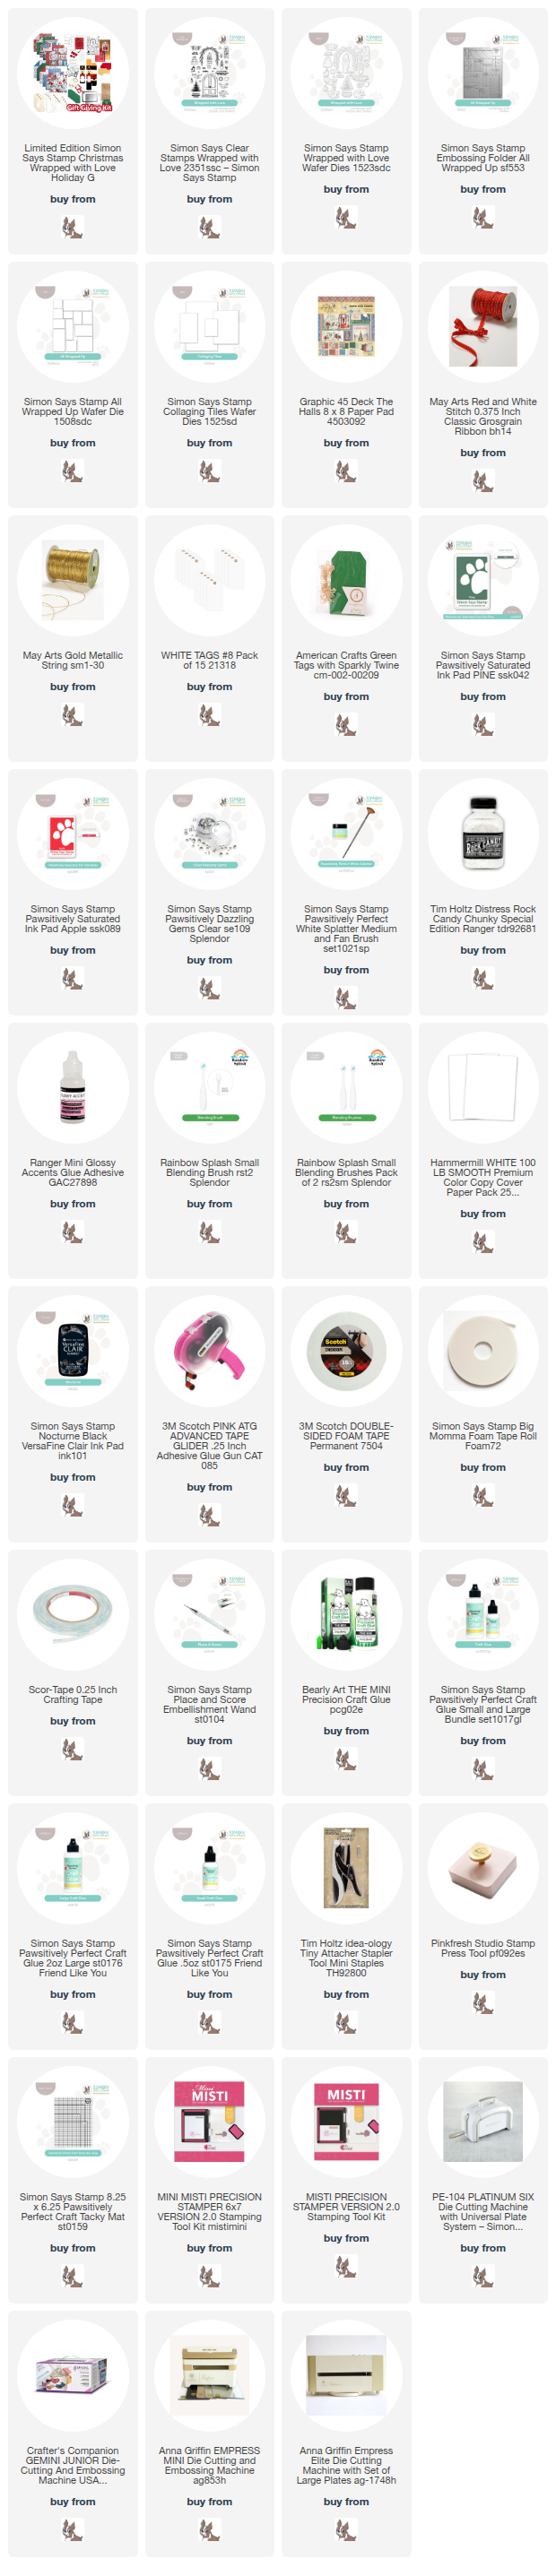
 Hello! Today I've got a few cards to share with you using a BRAND new LIMITED edition holiday gift giving kit from Simon Says Stamp! While this kit is definitely geared towards gift packaging and tags (and I have a few tags to share below as well), I also couldn't resist making a set of cards witht he lovely pattern paper in the kit! Every beautifully packaged gift needs a card as well, don't you think?


These first cards are pretty much made up of lots of the pattern paper in the kit. The new Collaging Tile die is actually sized perfectly to fit some of the square elements in the pattern paper - so I used it to die cut out the center pieces on these cards, then trimmed other paper to mat behind or fit on my cardbases. I added some of the pretty red May Arts ribbon and Gold metallic string to embellish, and foam adhesive to pop the front panel up for dimension. Keep scrolling to see the tags I created - but here is a closer look at these cards:


Next up - more of that pattern paper, but this time mixed with a bit of the included stamp set! For these, I used the Collaging Tile die again, but a smaller one to cut out the main center pieces, then trimmed varying sizes of pattern paper to adhere behind it, trimming off anything that hung off the edge of the tag. I used the branch die from the Wrapped with Love stamp set with Pine ink, and stamped a bit of a border around the edges. For the left card, I kept the color more bold, and the right card I used more second generation stamping for a softer effect. I couldn't decide which style I liked better, so I did one of each! I added more of that red ribbon at the top, stapled in place, then embellished with Dazzling Clear gems. Finally, I applied some Glossy Accents in select areas, and sprinkled on the magical Rock Candy Chunky Glitter for lots of sparkle! I have one more set of tags below - but here is a better look at these tags and their sparkle:


These final tags are tiny and cute! I used the American Crafts Green Tags with sparkly twine, and stamped the floral image from the Wrapped with Love stamp set around the edges, and added some white splatter. I used a couple of the embossed and die cut Wrapped Up embossing folder pieces, cut from white cardstock, and with a bit of Apple ink blended over the top, and popped those up with foam, then added another sentiment from the stamp set. On the reverse (see the next photo), I stamped an additional sentiment and tiny bow image! Here are more photos of these finished tags:


Product links are all below - including affiliate links where possible, which simply means if you use one of the links below that I receive a small commission at no additional cost to you. Thanks so much for stopping by! Have a wonderful day!!!