Showing posts with label Memory Box pattern paper. Show all posts

Tuesday, January 21, 2025

Elegant Plaid Card Duo - Simon Says Stamp

 Good morning! I've got a pair of elegant cards to share today, using some supplies from Simon Says Stamp. I absolutely adore plaid, and gold, and simple floral silhouettes...not to mention layered cards!


For these cards, I started off with some Memory Box 6x6 Nutmeg pattern papers that had some gold foiling on them. I then cut a layer of white cardstock using Chunky A2 Scalloped Rectangles dies, then trimmed some Cream cardstock to fit inside the scallops and leave a nice border around. On that panel, I stamped some intricate florals from Vintage Garden stamp set using Nocturne black ink, which is amazing for a nice, crisp, detailed image like this! I added dainty sentiments from Sketched Flowers stamp set, and used my Tim Holtz distresser tool to add a bit of texture around those pieces. Then I layered them on the white scallop pieces with Big Momma foam tape roll - I love that it is thinner, so I could use it on two layers, and not end up with an overly thick card. I wrapped some May Arts Gold Metallic string around those panels and tied in a bow, then mounted those panels on my plaid bases. Finished off with a few Dazzling Gems in gold on the flower centers for a touch of extra sparkle! Here are more photos of these cards:


Product links are all below - including affiliate links where possible, which simply means if you use one of the links below that I receive a small commission at no additional cost to you. Thanks so much for stopping by! Have a wonderful day!!!


Monday, January 6, 2025

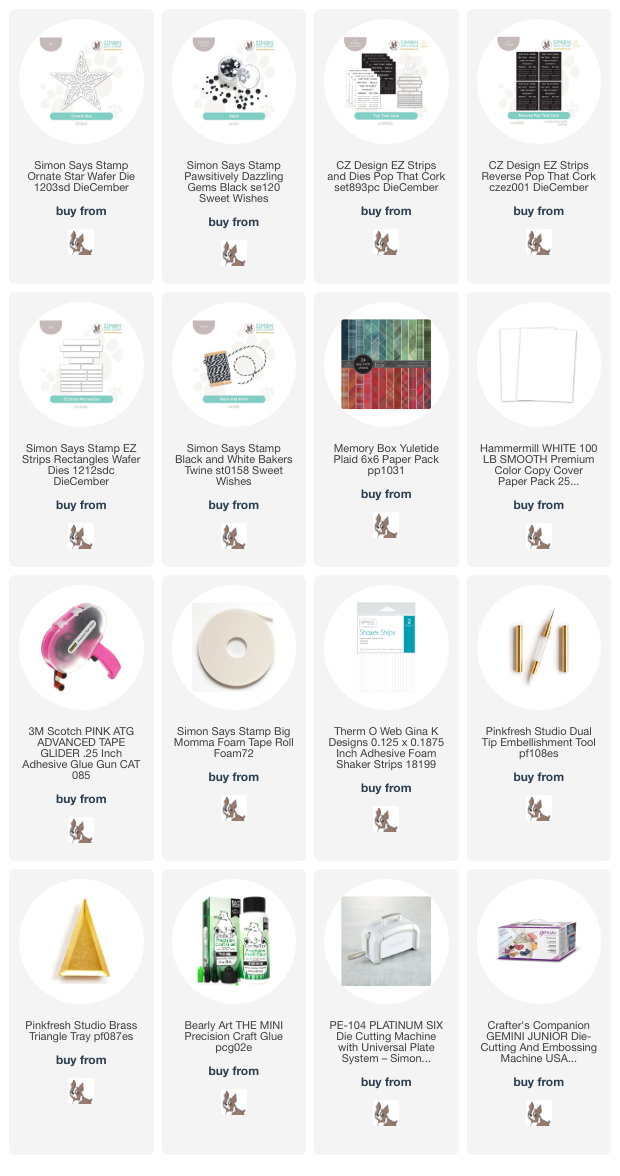
Reverse Plaid Star - Simon Says Stamp

 Good morning! A couple days ago I shared a card for New Years using some supplies from Simon Says Stamp. Well, sometimes I have leftovers from cards sitting around, and I hate to waste them. I was cleaning off my desk, and noticed that I had cut the star for the other card rather perfectly out of my A2 panel - initially so that I could make use of the bottom of the panel. But as it turns out, it make a fun window for a card too!


I grabbed some holiday plaid paper (also love stretching holiday supplies to cards past that time of year to get more use out of them!), and tucked that behind, then mounted the negative star with some foam tape over the top. I added an assortment of sentiments from the Pop That Cork reverse sentiment strips, cut out with the EZ Strips dies, and on slightly thicker foam adhesive strips. I finished off with some Dazzling Gems in black, and a little black and white Baker's Twine bow! Here are more photos of this finished card:


Product links are all below - including affiliate links where possible, which simply means if you use one of the links below that I receive a small commission at no additional cost to you. Thanks so much for stopping by! Have a wonderful day!!!


Monday, December 2, 2024

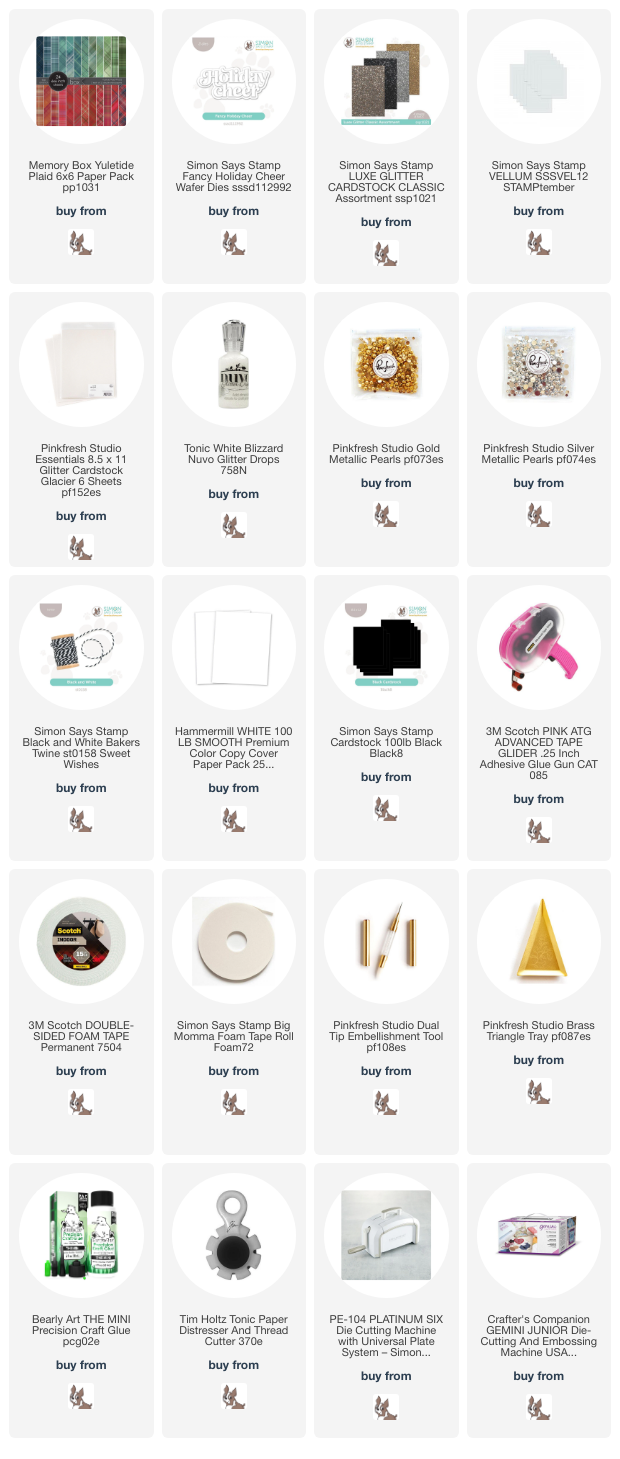
Holiday Cheer - Simon Says Stamp/Tim Holtz DieCember Limited Edition Surprise Set

 Good morning! Today I'm sharing a couple cards using a fun little bonus surprise for DieCember at Simon Says Stamp! The adorable little snowman and Santa on my cards below are from a new Tim Holtz limited edition surprise set. This die set will be available for FREE with $25 or greater purchase of Tim Holtz product. So fun!


 They are so cute and fun to die cut and layer up, and paired together so fun for these two cards. I used colored cardstock and white glitter cardstock for most of the layers, and a few elements with the same pattern paper I used for the background. These plaid pattern papers are some that I've been loving lately! I trimmed those down, added some distressing to the edges, then added some torn white paper underneath the edges of that. Layered over a bit of vellum, also with a torn edge, to soften the background a bit and provide a base for my images and sentiments. I also added a couple wraps of Black and White Baker's Twine tied around. Sentiments were cut from Luxe glitter cardstock, then layered with white cardstock behind that. I added some Nuvo glitter drops on parts of the images for added sparkle, and finished off with a few coordinating Metallic pearls! Here are more photos of these cards and those adorable images:


Product links are all below - including affiliate links where possible, which simply means if you use one of the links below that I receive a small commission at no additional cost to you. Thanks so much for stopping by! Have a wonderful day!!!


Wednesday, April 28, 2021

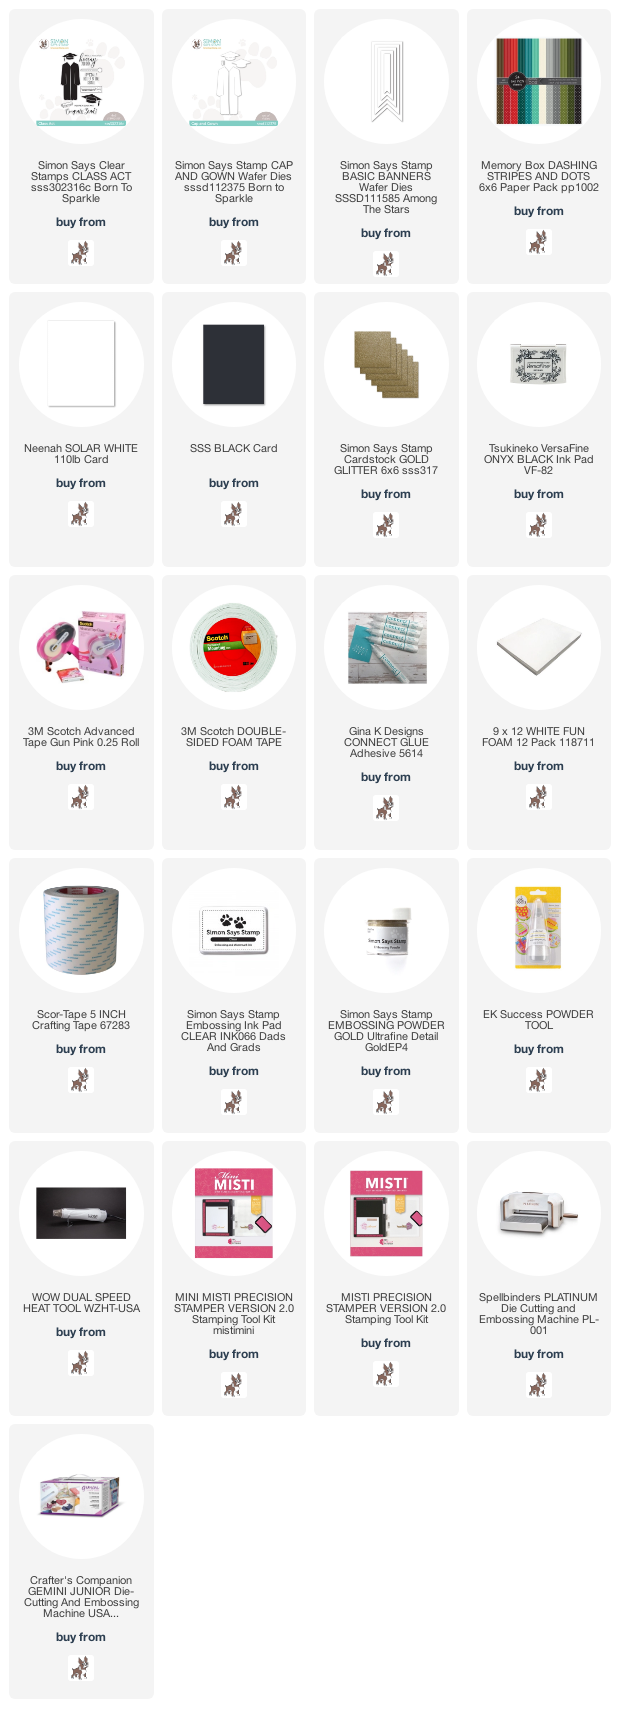
Classy Graduation Card - Simon Says Stamp Born to Sparkle Release

 Good morning! I'm back with another card to share with you using the BRAND NEW Simon Says Stamp Born to Sparkle Release ! Last night I shared some graduation cards - as I mentioned, my oldest is actually graduating this year (so crazy how fast that day arrives!) - so I was definitely in the mood to create cards for this occasion! Today I'm pairing up the fun new Cap and Gown wafer dies paired up with the awesome new Class Act stamp set!


I went with more classic and classy colors for this card - die cut the cap and gown from black cardstock, and popped it up on a panel of white. I added the sentiment down the side of the card, heat embossing the secondary part in gold on black cardstock. 


A few banners - one from gold glitter cardstock in the top right corner finish off the front panel! Then I just mounted with foam over some dotted black cardstock from Memory Box, and mounted on an Ivory cardbase - hard to see in the photo, but it adds a touch of interest from the white on the card front!


This release is amazing - there are so many fun things to check out! Click HERE to check out the release, and check back on Thursday and Friday (my day!) for the epic blog hop to celebrate! Happy Shopping!


Product links are all below - including affiliate links where possible, which simply means if you use one of the links below that I receive a small commission at no additional cost to you. Thanks so much for stopping by! Have a wonderful day!!!


Saturday, November 7, 2020

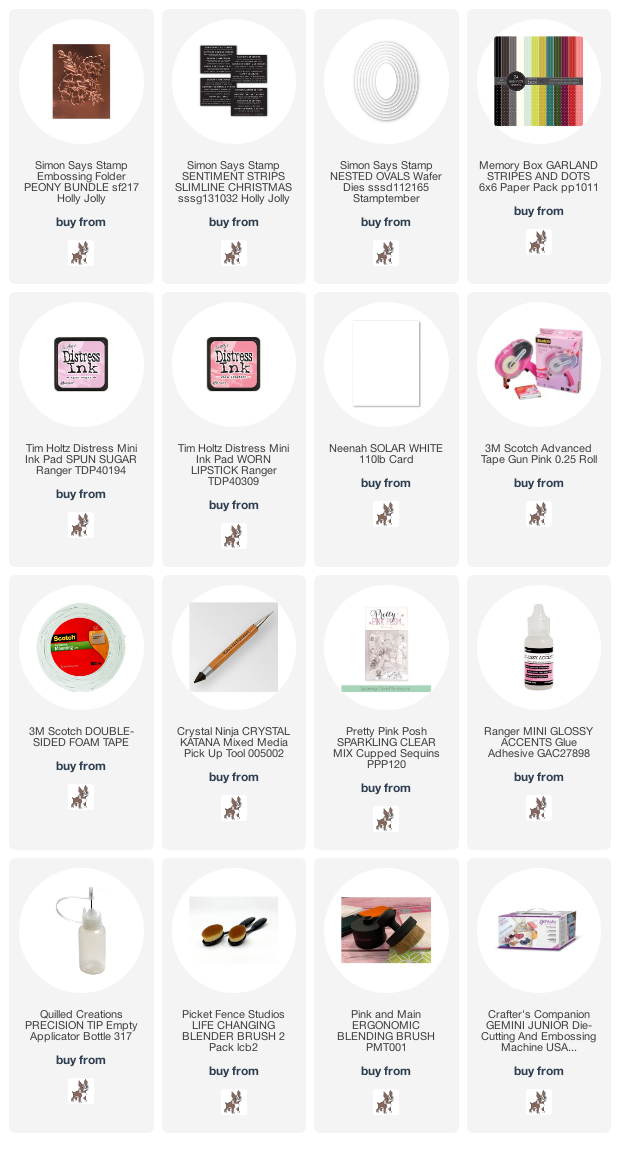
Embossed Cameo Card - Simon Says Stamp Holly Jolly Release

 Hello! I am a bit late, but wanted to share my first card using some of the fun items in the BRAND NEW Simon Says Stamp Holly Jolly Release! One last holiday release before it's time to move on to the next seasons - and some of this release would actually be super versatile beyond the holiday - for example, the lovely embossing folder I used on my card I'm sharing below! I added a Christmas sentiment, and used fairly bright and happy tones of the traditional red and green Christmas tones - but another sentiment would fit equally well on here also!


For some reason, this gorgeous Peony Bundle embossing folder made me think of a fun design on a cameo necklace - anyone know what I'm talking about? Well...I took that inspiration, and used it on a piece of white cardstock that I first die cut with a nice large oval die. I then inked it up to show all that lovely texture - first with Spun Sugar all over, then Worn Lipstick around the edges, and lightly over the top of the flowers to show off all that depth in the embossing. Such a lovely effect, and so many options for colors to use for this!


To add a bit of texture and interest to the card, I layered up a couple pieces of white cardstock, each cut a bit smaller than the white card base or layer underneath it. I curled up the edges a bit before adhering them down to give the illusion of a more depth in the layers without the bulk of foam adhesive between each one. I also tucked a strip of green pattern paper from a Memory Box 6x6 pattern paper pad under, curling up the outer edges in the same way.


Finished off by mounting the oval with foam adhesive, cutting up one of the sentiments from Slimline Christmas Sentiment Strips, and mounting that with foam adhesive as well. Finally, a few sparkling clear sequins add just a touch of sparkle and shine!


Product links are all below - including affiliate links where possible, which simply means that if you use one of the links below, I receive a small commission at no additional cost to you. Thanks so much for supporting my blog, and stopping by! Have a wonderful day!!!


Thursday, July 30, 2020

Happy Birthday Floral Shaker Card - Simon Says Stamp

Good morning! I'm back today with a shaker card I created with some stamps and dies from Simon Says Stamp! Definitely a sparkly pink and girly card on this one!


I started off by creating the floral background stamp using the large rubber Cosmos background stamp and 3 colors of distress oxide inks. I inked up the stamp with the 3 colors of ink, overlapping them slightly, misted it with water, then placed my watercolor paper face down on the stamp, and pressed down all across before lifting it to reveal the pretty background.


Next, I created a shaker window using Basic Rectangles dies and white cardstock, and filling it with sparkly clear Pretty Pink Posh crystals. I love that they are clear so you can still see the background through them, but they add a lovely sparkly filling to my shaker!


Next up, I die cut both layers of the Big Happy Shadow word die - the detail one from glittery pink cardstock, and the shadow layer from white cardstock. I adhered them together, and then over the top of my shaker. Finished off with a tiny supporting sentiment using Tiny Words Birthday and heat embossing it on a thin strip of Slate cardstock, then tucking it through and around the large "happy" word. 


Product links are all below - including affiliate links where possible, which simply means that if you use one of the links below, I receive a small commission at no additional cost to you. Thanks so much for supporting my blog, and stopping by! Have a wonderful day!!!


Thursday, June 11, 2020

Evelin T Release Week - Day 3

Good morning! Today is Day 3 of sharing projects using the new release from Evelin T Designs! Check out the Evelin T Designs Blog for more info!

Today I combined images from two different sets to create a fun and simple shaker card!


I stamped the background image first - once on pattern paper, and once on white cardstock. I used my MISTI to line them up perfectly, so I could tuck the pattern paper behind and my window would line up just right (even though it is hard to see through all the shaker filling in this photo!).


Next, I added a few of the adorable little fishies from the other set we are sharing today, and stamped my sentiment on the front in a coordinating ink color with my interior pattern paper.


Finally, I assembled my shaker, filling it with lots of sparkly clear confetti. I may have even added a bit too much, but is that even possible? I'm not really sure!


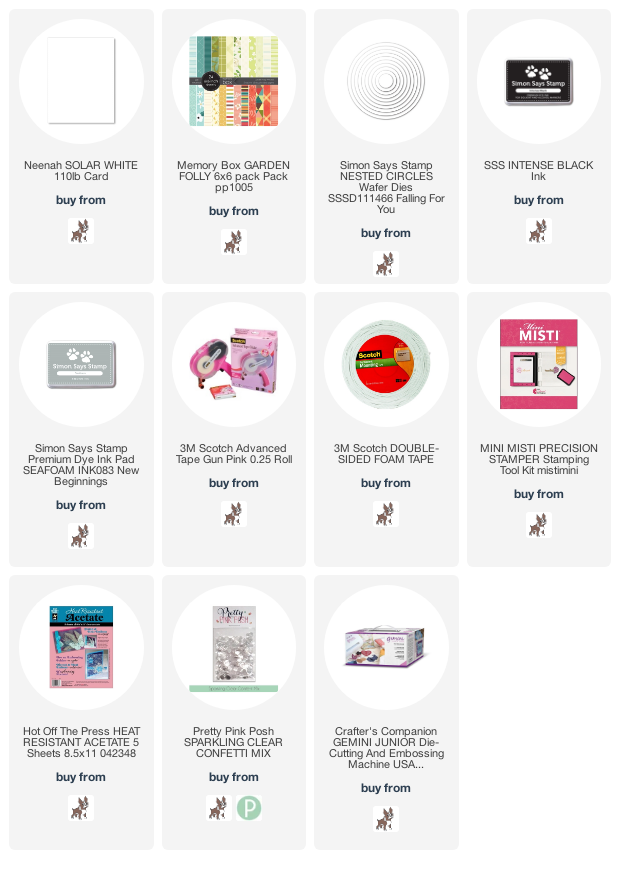
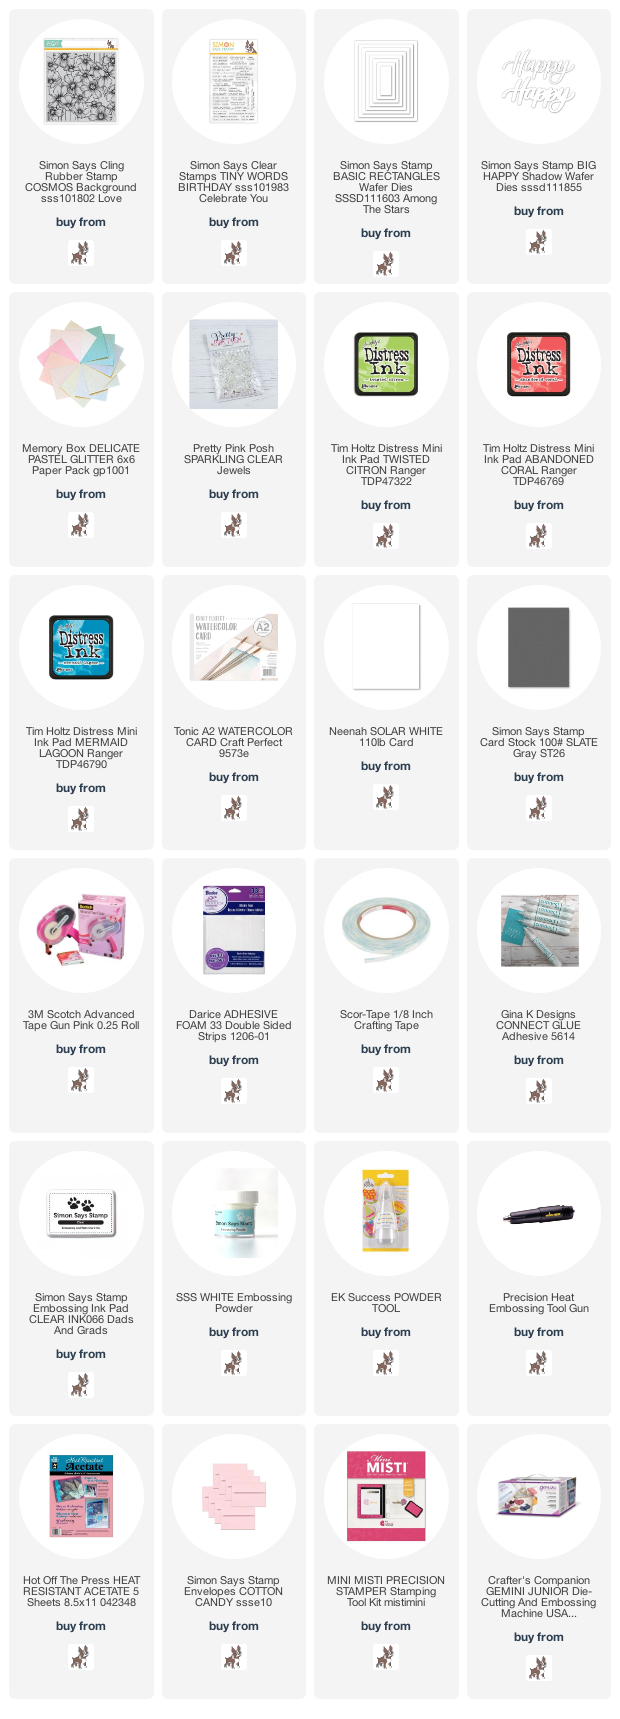
Product links are all below - including affiliate links where possible, which simply means that if you use one of the links below, I receive a small commission at no additional cost to you. Thanks so much for supporting my blog, and stopping by! Have a wonderful day!!!