Tuesday, July 12, 2022

Mini Slimline Cake Cards - Pinkfresh Studio YouTube Live Cards

Good morning! Dropping by today to share a couple cards made earlier this week for Pinkfresh Studio's YouTube Live - I used some newly released items, paired up with some older releases, and created these two mini slimline cards with a fun purple color theme that would be easy to switch out to any monochromatic color scheme you wanted! You can watch the video replay HERE if you want to see more details and watch these cards come together. 


I love the gorgeous Celebrate in Style set - the one piece stamp/stencil/die combo allows you to quickly create two entire cake sets so quickly! And the added embellishments are just amazing.


I used purples for both the cake layers and the florals, and traditional greens for the leaves and greenery. I used the same purple tones for the stenciled sentiments as well - I love that they have their own coordinating dies! For this first card, I also used the Ornate Medallions coverplate die for added texture on the background.


I used the coordinating die for the cake plate for both cards, cutting from matte gold cardstock. You can also stencil it and cut it out, but I love it all on it's own with the included texture that makes it super fun.


For this second card, I used the Dotted Scallops coverplate die for texture. Both cards have a frame die cut from Mini Slimline Frames, secondary sentiments from the stamp set, and a few Metallic Gold Pearls to embellish at the end!


Product links are all below - including affiliate links where possible, which simply means that if you use one of the links below, I receive a small commission at no additional cost to you. Thanks so much for supporting my blog, and stopping by! Have a wonderful day!!!


Monday, July 11, 2022

Flea Market Finds - Spellbinders Paper Arts

 Hello! I'm stopping by to share a few cards using the fun Flea Market Finds Collection that released recently from Spellbinders. I used some of the paper and embellishments from the collection to create these fun layered cards so quickly and easily! By keeping lots of bright white space and adding gold foiled sentiments, I love the mix of vintage and modern that came together in these cards. I used a Speckled Eggshell cardstock to create the cardbases, then white panels to set everything off and provide a touch of contrast.


First up - my favorite card! I made a full size slimline card featuring the pretty trio of birds in the Happy Thought Miscellany Printed Die cuts. I fell in love with them, and originally thought I would create three separate cards, but they came together so pretty all on one slimline card!


Using the same cardstock as the cardbases - Speckled Eggshell - I also die cut 3 small ovals to use as a base to anchor each of the bird images. I also used one of the Etiquette's Stickers, trimmed in half, to add some interest to the top and the bottom of my panel.


I popped the birds up with foam adhesive, added a hot foiled sentiment created from Mini Everyday Sentiments, and a sprinkle of Pinkfresh Metallic Gold Pearls to finish this card off!


The next 3 cards all feature the same sentiment hot foil set, some Pinkfresh Gold pearls (this time in the Matte version), and a bit of white torn cardstock under the layers for texture. First up, this card featuring more of the Miscellany and Stickers:


I loved that green shutter, and of course the detailed butterfly sticker. Since I wanted to pop the butterfly up with foam adhesive, I used a trick I had seen years ago - use an embossing powder tool all over the entire sticky side of the sticker, until it isn't sticky anymore. Then, I could just add foam adhesive to adhere it to my card!


Next up, this fun vintage and sort of masculine design!


This piece from the Miscellany looked so classic and vintage - perfect for a more masculine design. And adding the pearls in a row on this card, helped keep it from changing over to a super feminine design as well.


And one more pairing the Stickers and Miscellany! And I did mention I loved those shutters...so of course I had to use them both. :)


I did the same thing with this sticker, only I adhered part of it directly to the window shutter and then used the powder tool on the rest. I also added a twist of gold thread under the sentiment on this one for some extra texture!


And then one final card - this one utilizes some of the pretty Floral Palette Sampler pattern paper. I will be making more simple cards with this lovely paper for sure!


I used my Distressing tool to add texture to the edges of the pattern paper panel, and also matted it with a bit of white cardstock to help it pop. Sentiment is from Essential Glimmer Sentiments hot foil, I hand trimmed it down to a strip with an angled edges after hot foiling it, and popped it up with foam adhesive!


And there you have it! Despite this collection having a super strong vintage feel, I had fun creating light and airy cards with a bit of a modern twist to them! I hope you enjoyed as well!


Product links are all below - including affiliate links where possible, which simply means if you use one of the links below that I receive a small commission at no additional cost to you. Thanks so much for stopping by! Have a wonderful day!!!


Saturday, July 9, 2022

Fairytale Inspired Floral Cards - Pinkfresh Studio Facebook Live Card

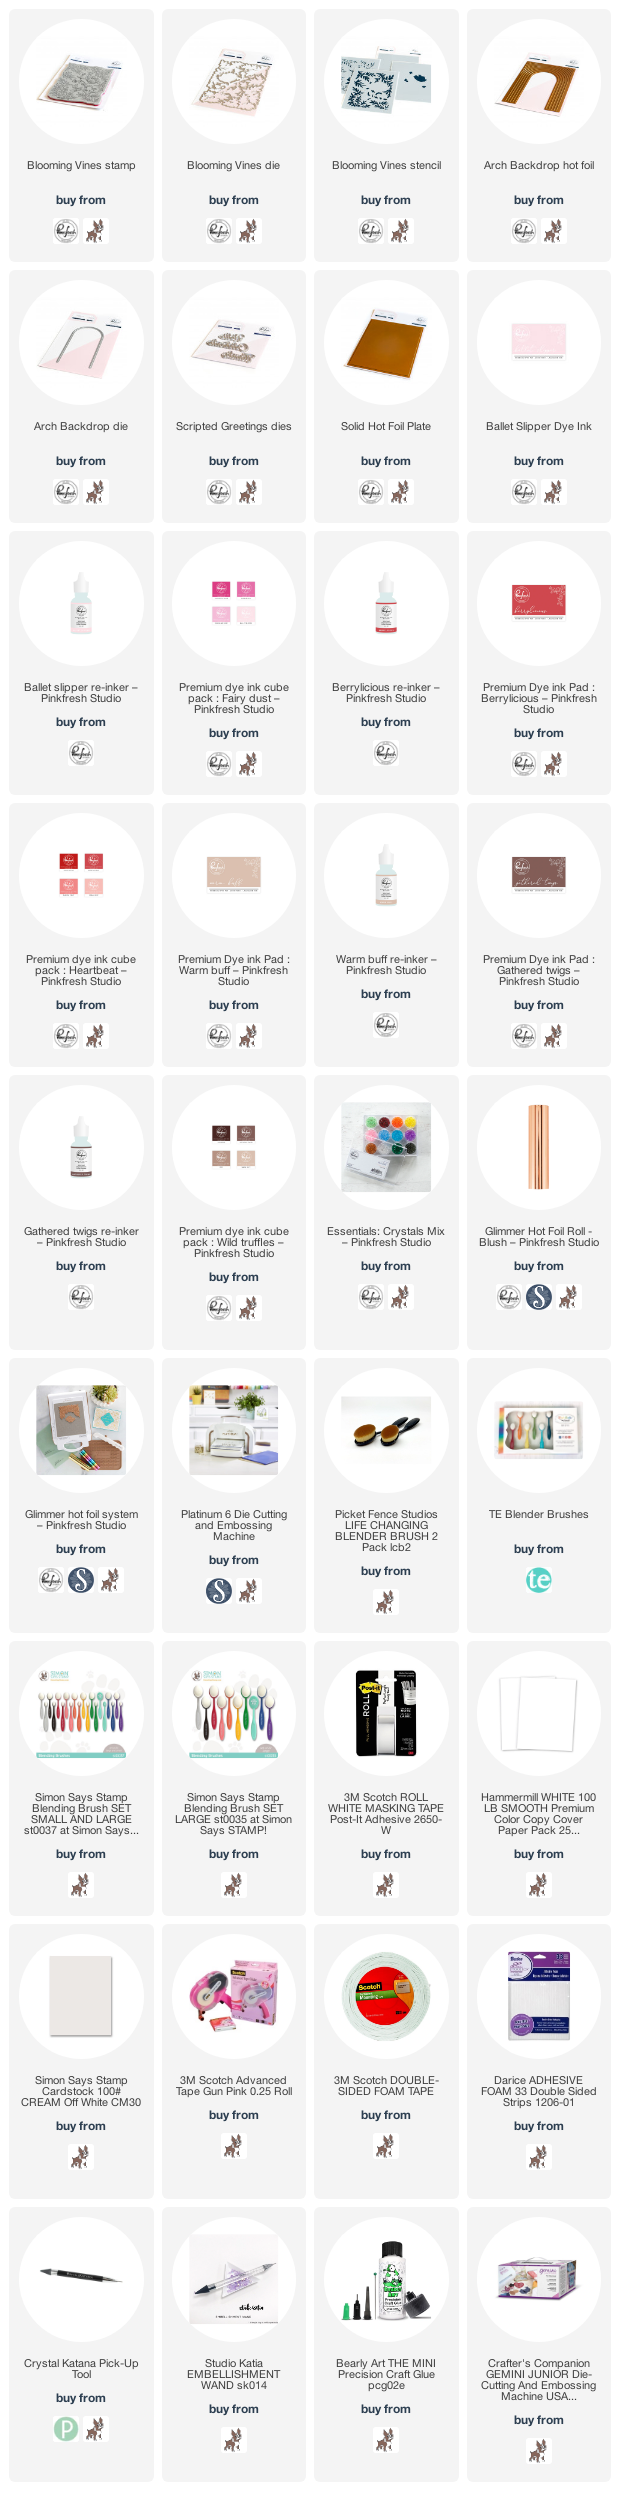
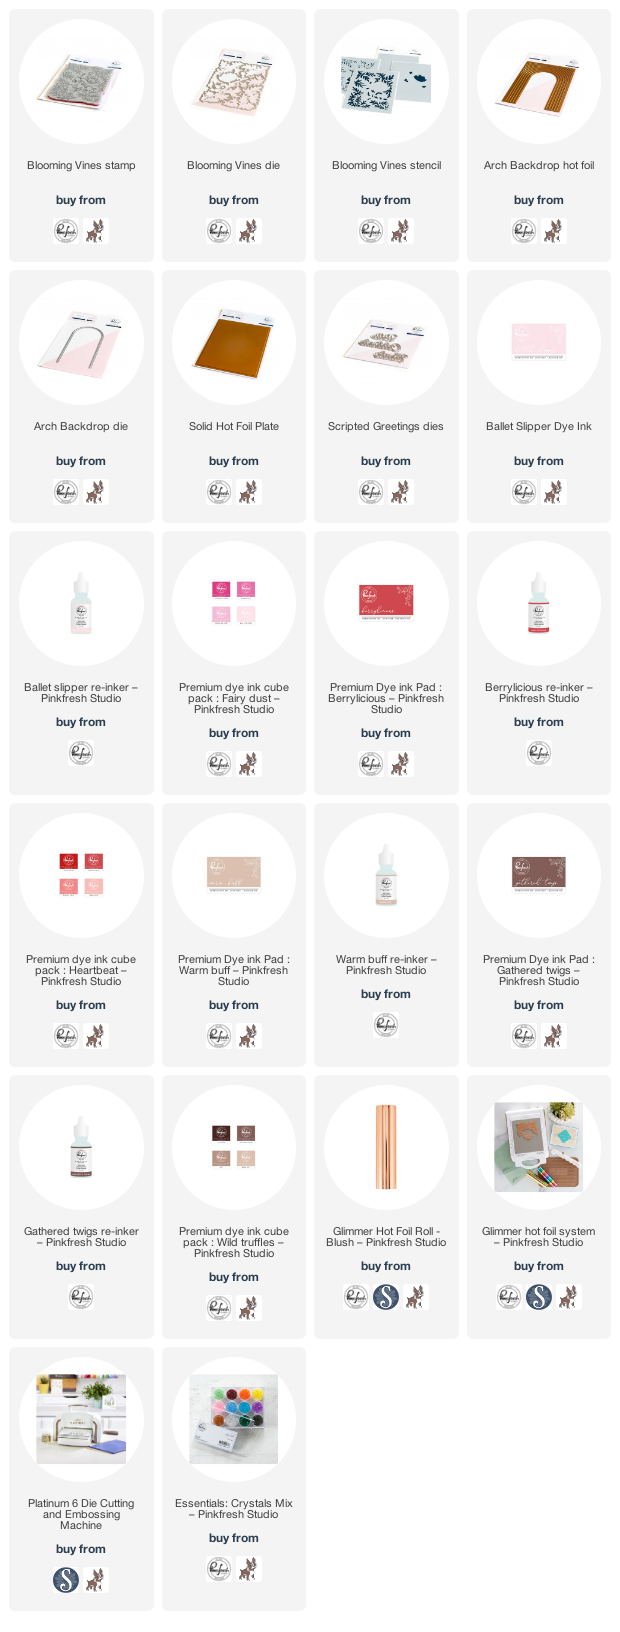
 Good morning! Dropping by today to share a couple cards I made, actually quite a few weeks ago for Pinkfresh Studio's Facebook Live. I'm terribly behind in posting, but didn't want to miss posting, even if it is late! These cards used a fun color combo of soft pinks, a pop of red, lots of hot foiling, and an otherwise neutral color palette! You can watch the replay HERE if you want to see more details.

I started off by hot foiling the beautiful Arches hot foil plate on Ivory cardstock, then foiling the reverse foil on white cardstock, then die cutting with the coordinating die.

Next up, I used the Blooming Vines stamp stamped with deep brown ink, then ink blended in a mix of soft pink and tan for the leaves, and deep reds for the flowers. I had one I had tested in advance, so I die cut them both out with the coordinating die so I could create two cards.


I arranged them tucked around the arch, some of them coming up from the bottom, and some from the top, using a mix of liquid glue and foam adhesive.


I added sentiments from Scripted Greetings, die cut from white for the main layer, and red for the shadow layer.


I added a little row of crystals from Essentials: Crystals mix to finish off!


Which version is your favorite? The solid foiled arch with the plain center, or the original foiling with the solid center? And best of all - no foil wasted!


Product links are all below - including affiliate links where possible, which simply means that if you use one of the links below, I receive a small commission at no additional cost to you. Thanks so much for supporting my blog, and stopping by! Have a wonderful day!!!


Friday, July 8, 2022

Simplest Gestures Mini Slimline - Pinkfresh Studio YouTube Live Card

 Good morning! Dropping by today to share a card I made a few weeks ago for Pinkfresh Studio's YouTube Live - I had tons of fun hot foiling, die cutting, layering, and mixing ink colors to create a unique color combo! You can watch the video replay HERE if you want to see more details. All supplies are linked at the bottom of this post for you as well!


I started off by hot foiling this beautiful Simplest Gestures hot foil plate in gold, and doing my sentiment from Modern Script Sentiments as well. I then used the layering stencils to add color to the flowers, mixing two different color families for the leaves as well as the florals to get a custom color that I fell in love with!


I die cut those out with the coordinating dies, and then did some additional die cut layers in white cardstock to add lots of texture and dimension. I used Curvy Foliage, Stitched Diamonds coverplate die, and Mini Slimline Stitched Scalloped Rectangle.


I layered everything together over a deep aqua cardbase to coordinate with the leaves on my florals. Can you see the mix of ink colors in the close up view? Isn't it fun?!?


Little bits of foam adhesive help give this card lots of dimension. I also created a custom envelope for it using the Mini Slimline envelope die and some Pinkfresh pattern paper - that happened after the live, since I couldn't find my envelope die when I was finishing up. Conveniently - this envelope die, as well as the full size Slimline Envelope die set is on sale this week at Pinkfresh Studio - 30% off woohoo! Click the photo below to see these great dies!   


And there you go - a bright, bold, and sparkly card! One of my favorites!


Product links are all below - including affiliate links where possible, which simply means that if you use one of the links below, I receive a small commission at no additional cost to you. Thanks so much for supporting my blog, and stopping by! Have a wonderful day!!!


Thursday, July 7, 2022

Hanging Garden Slimline Card - Pinkfresh Studio Facebook Live

 Good morning! Dropping by today to share slimline card I made last week for Pinkfresh Studio's Facebook Live. I used an older stencil, and some newer dies and stamp set to create this card - mixing in some gold embossing paste for one of the layers on the stencil! You can watch the replay HERE if you want to see more details. 


I used the Hanging Garden stencil on two sides of a long panel of cardstock, trimmed to 4 1/4" by 10", and layered ink colors, then some gold embossing paste for the final layer. I had one I had done in advance that had time to dry, so I pulled that out and die cut it with the largest Slim Stitched Rectangles die to create my panel.


Next, I die cut the gorgeous Ornate Circle die from matte gold cardstock, and a couple extra times from white to build up a bit of dimension. I layered them together to place in the center of my panel, popped up with foam as well.


Can you see that lovely texture from the embossing paste? So fun and dimensional!


A pink slimline cardbase, sentiment from Heart Smiles stamp set, and a few of the newest Clear Drops: Iridescent finish this card off!


Product links are all below - including affiliate links where possible, which simply means that if you use one of the links below, I receive a small commission at no additional cost to you. Thanks so much for supporting my blog, and stopping by! Have a wonderful day!!!


Wednesday, July 6, 2022

Dahlia's and Diamonds Card Duo - Pinkfresh Studio

Hello! Several weeks ago, I had the opportunity to do a Facebook Live for Creative Escape (a fun crafty store in California) sharing a couple of cards using the newest release (at the time!) from Pinkfresh Studio. The washi, hot foil frames, and pre-printed sentiments all helped these cards come together SOOO quickly - ann they are some of my favorite cards ever! You can watch the replay on their Facebook Page HERE if you want to see how they all worked together.


I started off by adhering a beautiful panel of Dahlia washi onto white cardstock, and die cutting with the coordinating one piece dies. These are so much fun - because you get this large assortment of florals, so quickly and easy! And the gold foiling on this set is stunning!


Next, I created the frames. I foiled the Nested Diamonds largest frame on a panel of white cardstock, and then foiled the negative as well using my solid hot foil plate. This first card uses the negative piece of foil, and both sides of the coordinating die.


I die cut a window on another panel of white cardstock, also die cut with a stitched rectangle, then popped that frame up with foam adhesive around the window for perfect framing.


For the second card, I simply cut the window in the center of the frame, and the outer edges with a stitched rectangle. Leaving it like this gave it a nice clean finish.


After that, it was just a matter of arranging those fun florals! I tucked them in and around the frames, curling up the edges for dimension, and using a mix of foam adhesive or liquid glue.


Sentiments are from the Rainbow Sentiments pack, and a few Ballet Slipper jewels finish these cards off quite nicely!


Product links are all below - including affiliate links where possible, which simply means if you use one of the links below that I receive a small commission at no additional cost to you. Thanks so much for stopping by! Have a wonderful day!!!