
Good morning! Dropping by today to share a couple cards I made last week for Pinkfresh Studio's Facebook Live! I used some of the beautiful new washi tape on vellum for a different look, and paired it up with the coordinating stamped images from the stamp set. I also have a bonus card at the bottom that I made with some leftover bits and pieces! You can watch the replay HERE if you want to see more details.

I love the gorgeous Joyful Bouquet set - the colors and blooms are just so pretty! And mounting it on vellum before die cutting with the coordinating dies gives it a very different and lovely look - more transparent and unique.
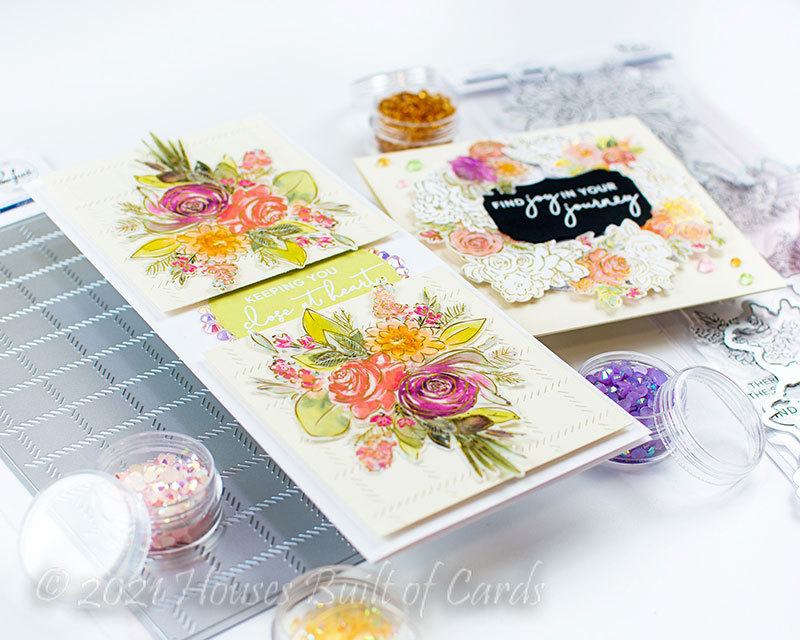
For this cute square card, I heat embossed the stamp set in gold on white cardstock and cut it out, then alternated those pieces with the washi pieces on a die cut circle to create a wreath. I added a sentiment heat embossed in white on a frame cut with Fancy Label Frames, and mounted it all on a cream colored card base. Finished off with a few sparkly Crystals.

The slimline version uses the lovely Slimline Diagonal Stitched plaid - with a section trimmed out of the center, and the larger blooms mounted on opposite sides. Sentiment is from Indigo Vines stamp set heat embossed in white on a soft green panel die cut with Basic Label Frames - mounted behind the plaid panels, it looks like a circle. A few Sparkly jewels finish this card off.

One of my favorite combinations of cardstock is white and ivory - love the subtle contrast and soft variation it gives.

And I really love this washi on vellum - did I mention that before? :)

I had some extra blooms leftover from a different project - these ones were just mounted on white cardstock instead of vellum, but I thought I'd put together another card with a similar look and layout as the one above.

I used the same Slimline Diagonal Stitched Plaid for the background, but this time I didn't cut a portion out of the center.

Sentiment is the same as above, and is on the exact same label frame - but this time I mounted it over the front. I mounted the main part of the floral bouquets on foam adhesive, then tucked the stems under the sentiment, attaching it down in each side, but leaving it loose to float up a bit in the center.

Finished off - as always! - with a few sparkly jewels on this one as well!

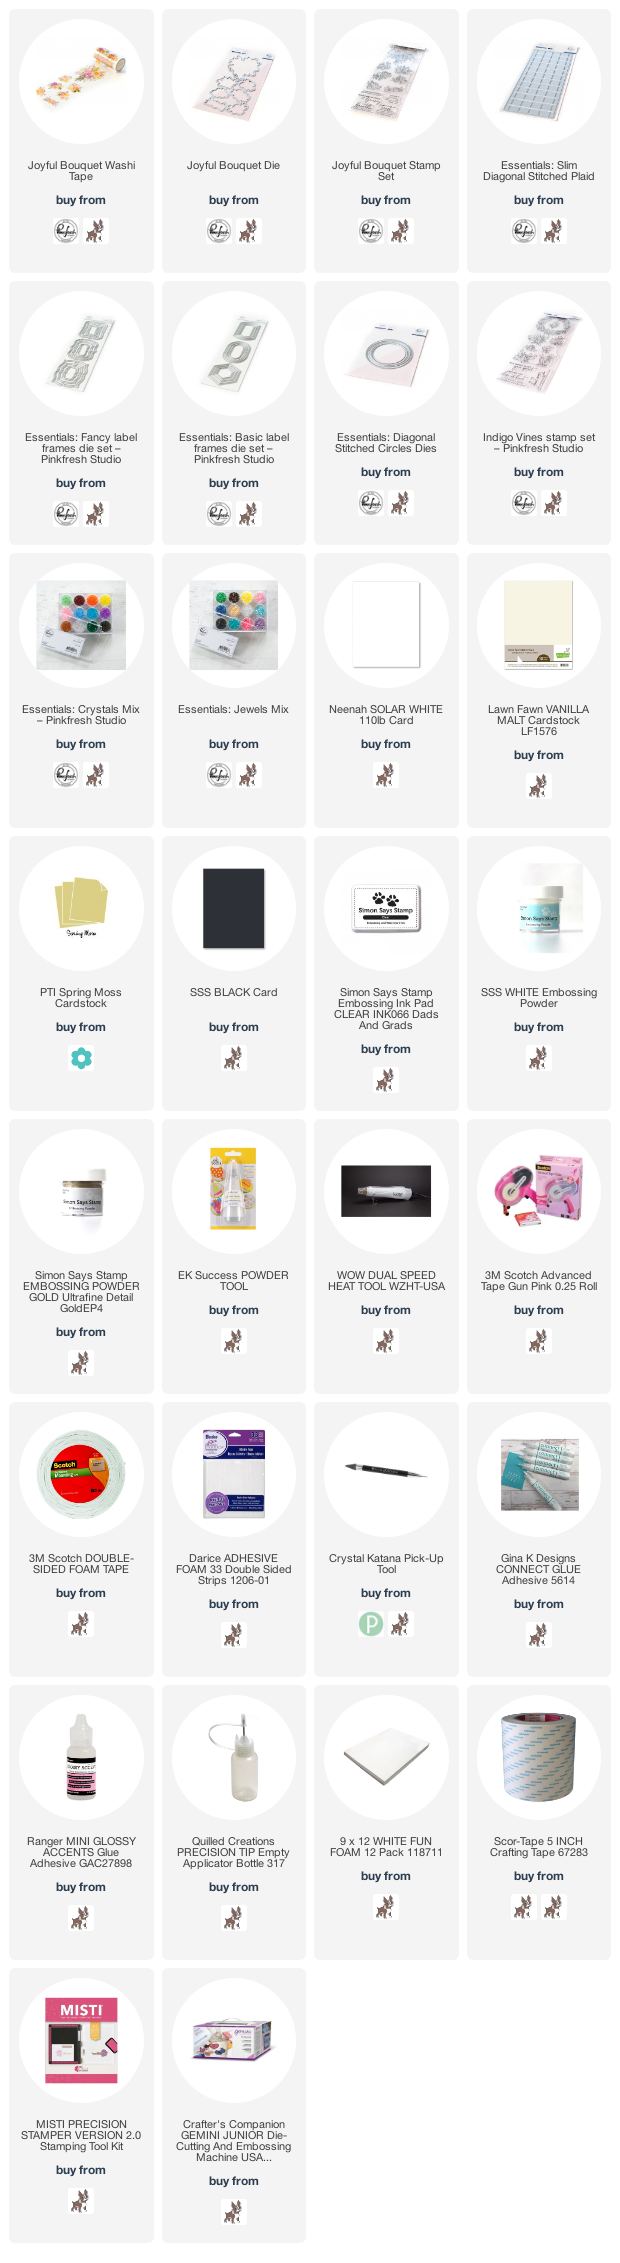
Product links are all below - including affiliate links where possible, which simply means that if you use one of the links below, I receive a small commission at no additional cost to you. Thanks so much for supporting my blog, and stopping by! Have a wonderful day!!!
No comments:
Post a Comment