Showing posts with label sparkle paste. Show all posts

Friday, April 10, 2026

Reverse Watercolor Cuties - Simon Says Stamp

Good morning! Today I'm moving on from birthday cards, but you might notice a similarity between yesterday's and today's cards? These cards also feature a plain focal image, with background color to make them pop! The main difference is that these use watercolor instead of ink blending to add the color. And how sweet is this stamp set from Simon Says Stamp?!?!?


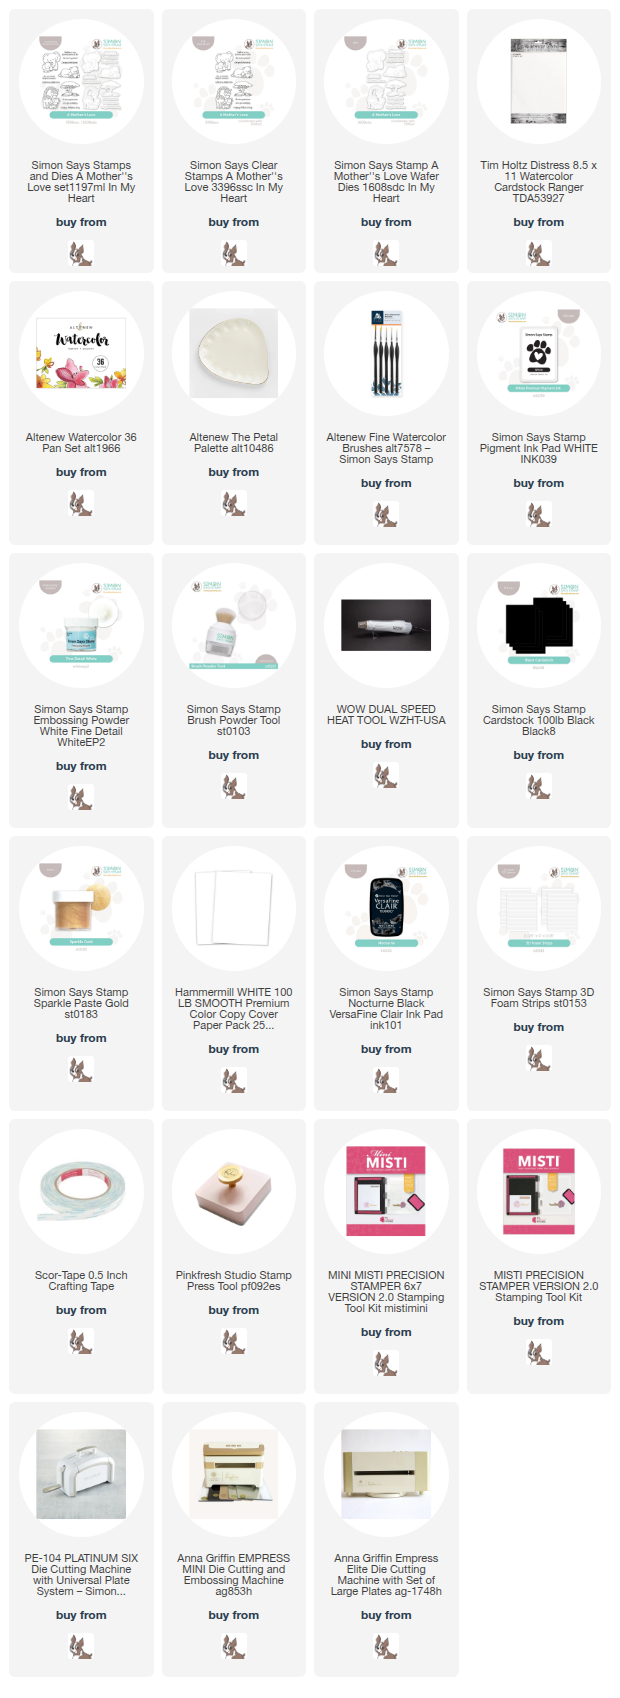
I started off by stamping my main images from A Mother's Love on panels of watercolor paper. I pulled out my Altenew watercolors, and carefully added a wash of color around the images, doing my best not to get any color on the images - but not worrying about perfection either! I faded it out to a soft edge, and added a bit of shading and blending of extra colors. I masked out the images by setting the clear stamp over the top (a quick easy trick!) and mixed some Sparkle Gold Paste with a bit of water to add some soft splatters to the background. While that all dried, I stamped and heat embossed the sentiments, stamping in white pigment ink, then embossing with white powder for a nice crisp image on the black cardstock. Those were added with tiny bits of foam adhesive strips for just a touch of dimension! Here is a closer look at these two sweet cards:


Product links are all below - including affiliate links where possible, which simply means if you use one of the links below that I receive a small commission at no additional cost to you. Thanks so much for stopping by! Have a wonderful day!!!

Tuesday, March 31, 2026

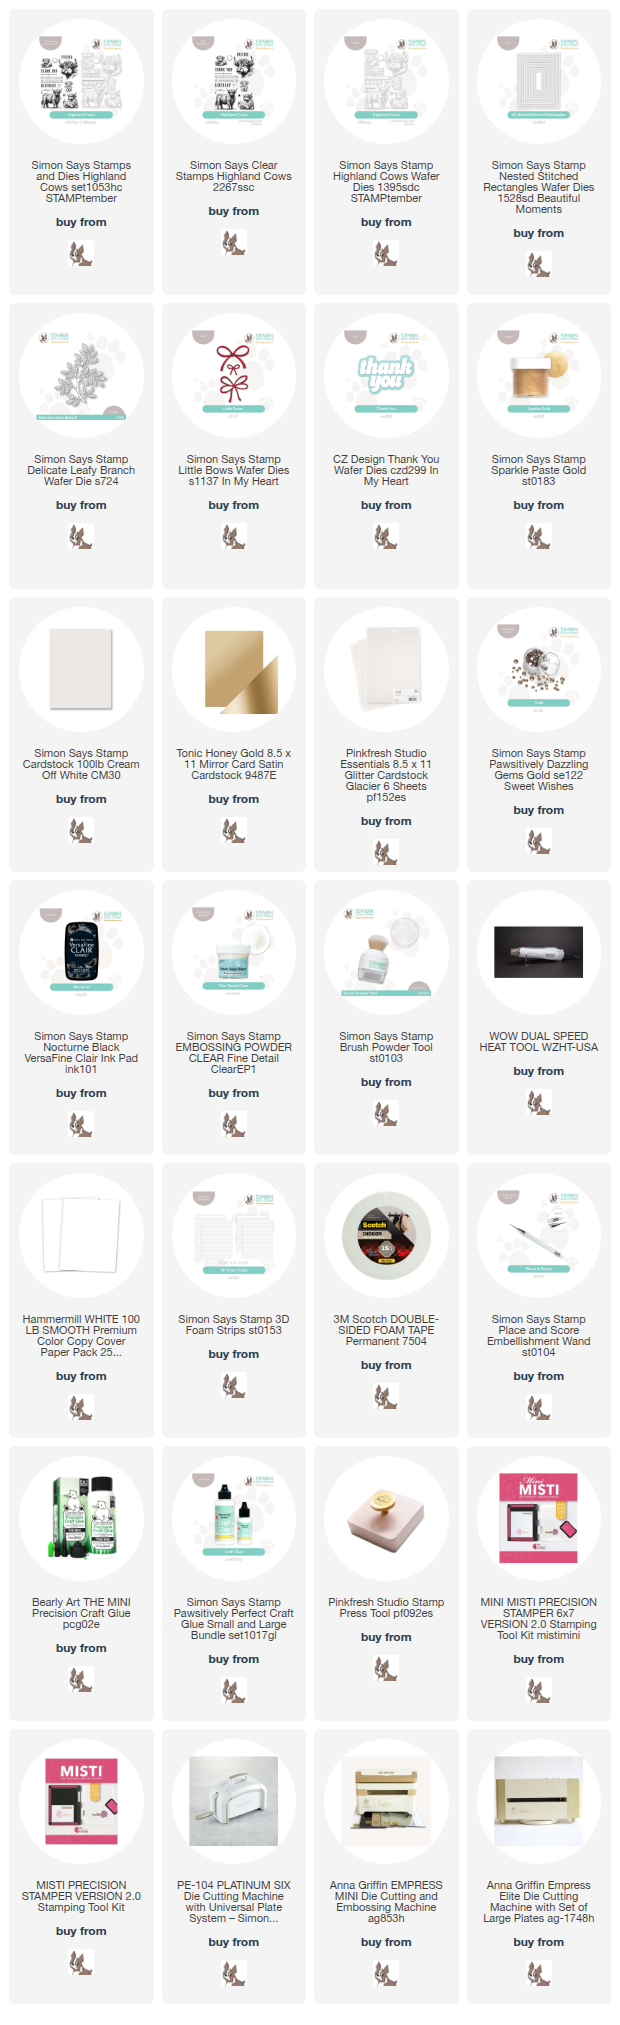
Highland Cow Thank You - Simon Says Stamp

Good morning! I'm sharing a fun and simple card today in neutral tones using a mix of supplies from Simon Says Stamp. I love this adorable highland cow - and don't the neutrals make it feel more elegant as well?!?


I actually started this card by testing out an idea I had - and I love how it worked! I used some SSS Gold Sparkle paste, mixed it with a bit of water, and used it as a splatter. It is the prettiest color, and made a lovely splatter! I added a Cream cardstock frame created by cutting a window with Nested Stitched Rectangles, and popped that up with foam around the edges. The image is from Highland Cows, stamped in Nocturne ink and clear heat embossed for some fun shine. I nested it in the card, and then tucked some die cut Delicate Leafy Branch pieces, die cut from white, around it. Sentiment is from Thank You wafer die, cut from Honey Gold cardstock - I just skipped the shadow layer, and popped it up with foam adhesive, then added a tiny bow cut with Little Bows die from white glitter cardstock. Finishing touch was a heavy dose of Dazzling Gold gems! Here are more photos of the final project:


Product links are all below - including affiliate links where possible, which simply means if you use one of the links below that I receive a small commission at no additional cost to you. Thanks so much for stopping by! Have a wonderful day!!!


Monday, March 2, 2026

Irish Wishes - Simon Says Stamp Beautiful Moments Release

Hello! I've got some more inspiration to share today using the recent Beautiful Moments Release from Simon Says Stamp! I love this soft toned green color palette, paired with some sparkly gold!

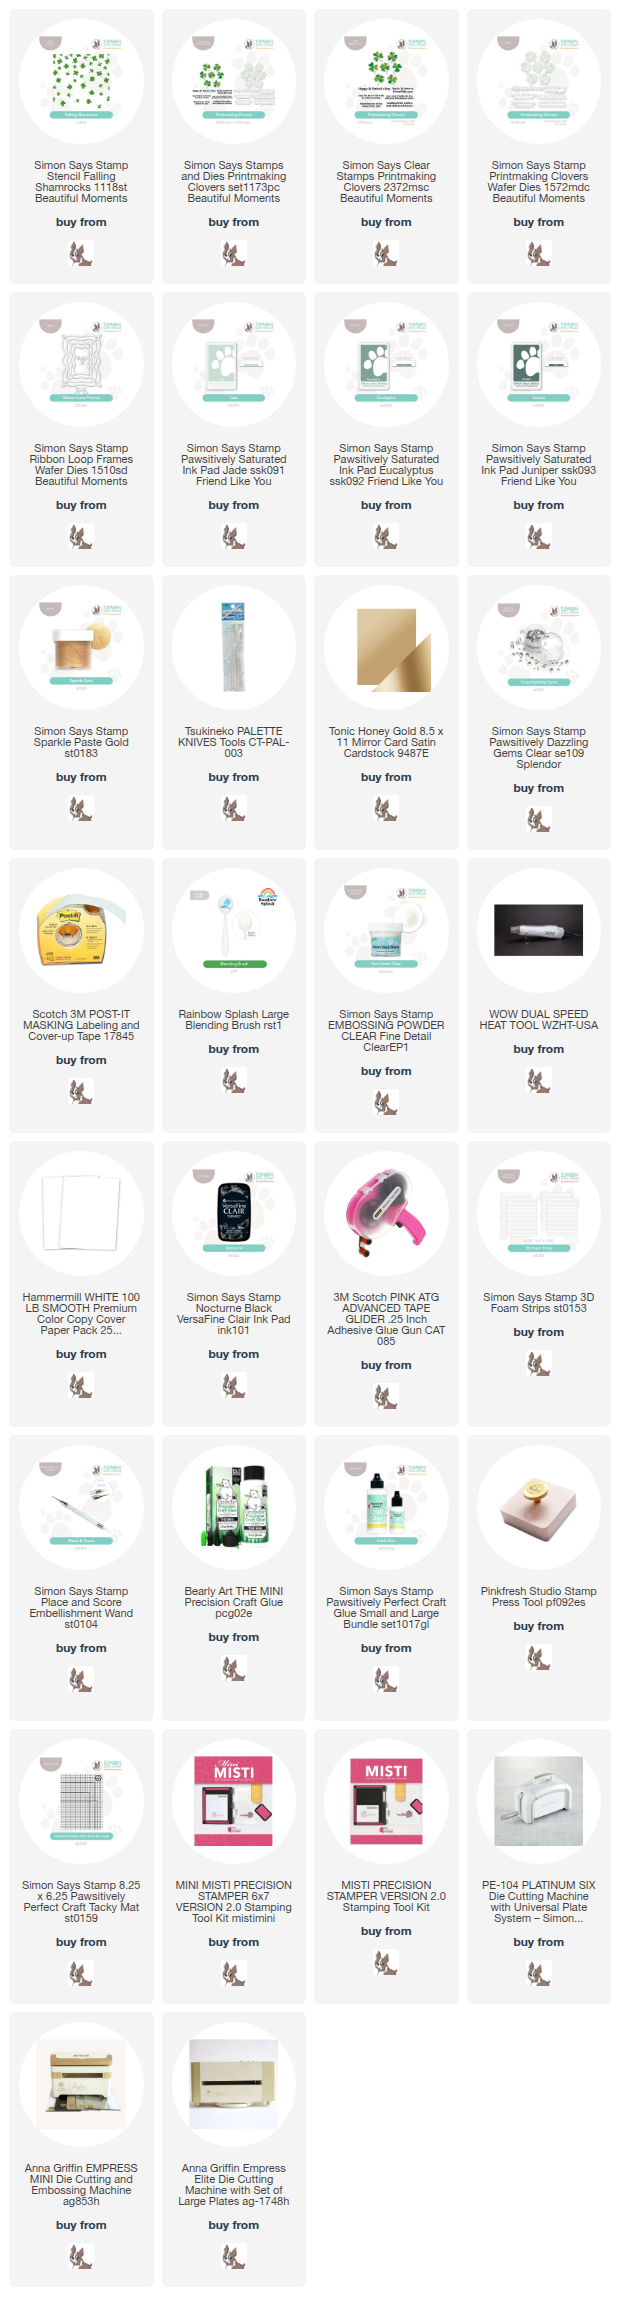
I started off by using the Falling Shamrocks stencil. While it isn't a layering stencil, just rotating it for each color worked really well to get a layered effect, don't you think? I used Jade, Eucalyptus, and Juniper ink, then Gold Sparkle paste for the top layer! I added a Ribbon Loop Frame die cut once from Honey Gold cardstock, then layered on one cut from white cardstock for a touch of easy dimension. Sentiment is from Printmaking Clovers, stamped in Nocturne and heat embossed with clear embossing powder for a touch of shine. I also used the dies to cut from the Honey Gold cardstock, and added that as an embellishment, tucking one of the die cut bows from Ribbon Loop Frame on there as well. Finished off with a few Clear Dazzling gems for a touch more sparkle! Here are more photos of the finished card:


Product links are all below - including affiliate links where possible, which simply means if you use one of the links below that I receive a small commission at no additional cost to you. Thanks so much for stopping by! Have a wonderful day!!!