
Good morning! Dropping by today to share a card I earlier this week for Pinkfresh Studio's YouTube Live - I had lots of fun with hot foiling (including the Solid Hot Foil Plate), layering stencils for the florals AND the background, even a bit of splatters for fun! You can watch the replay HERE if you want to see more details.

This card was super bright and bold - and really far from my usual color palette...and I kind of loved creating it!

For the background, I used the fun Slim Skinny Plaid stencil. It is a super detailed stencil, so a touch of Pixie spray on the back is helpful to hold those skinny parts all in place. It works great with that! I blended 3 different colors of ink over the background to coordinate with the colors I was using on the flowers and greenery, and kept it darker at the top, fading out as I got to the bottom of my Slim Stitched Rectangle. Once I was done stenciling, I also blended the leftover ink from my brushes over the background areas to soften the lines of the stenciling a bit, and blend it all together. I added some white gold splatters with my Gansai Tambai Starry Colors Palette, and set that aside to dry.

I used the Brighter Days hot foil plate and my Gemini Foilpress with Silver foil, and also used the Solid Foil Plate to foil the negative piece of foil. I saved the flowers for later (possibly to decorate the envelope!), and saved the leaves to add to my card.

I used the Brighter Days layering stencils to add color - and used a bold shade from 5 different color families! It was fun to mix layering with complimentary colors, but not choosing from the same color family. I love the finished effect! I then die cut them all out with the coordinating dies.

I layered together 3 Slim Stitched Scallop Rectangles (the outer portion of the smaller die) together to create a dimensional frame, and adhered that on my stenciled panel. I stamped the sentiment from Brighter Days stamp set underneath the frame in Detail Black ink, leaving room to add the crystals on each side.

Finally, I arranged the florals and greenery in the front framed bit - using foam adhesive for the flowers, and layering two together in the center. I added the greenery with liquid glue, curling the edges up for dimension. Finally, a row of Essentials Crystals on each side of the sentiment! The entire panel is mounted with foam on a bright pink cardbase - also a step out of my normal choices of cardbases! What do you think - do you like changing up your usual favorite color combos and trying something new?

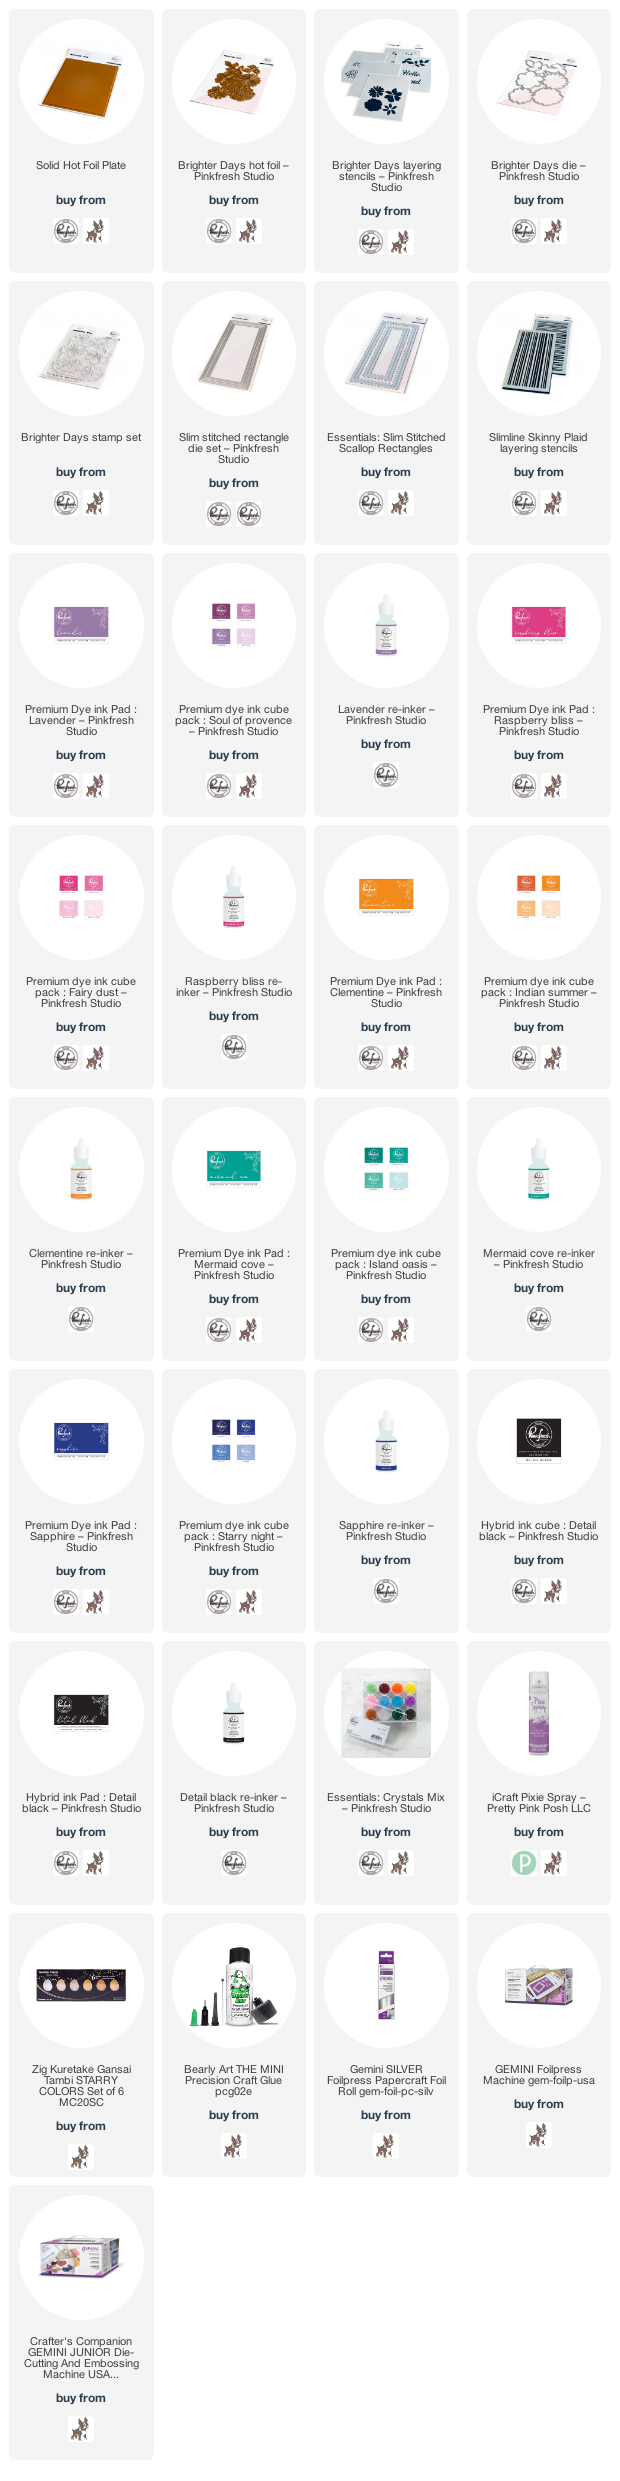
Product links are all below - including affiliate links where possible, which simply means that if you use one of the links below, I receive a small commission at no additional cost to you. Thanks so much for supporting my blog, and stopping by! Have a wonderful day!!!
No comments:
Post a Comment