Monday, February 17, 2025

Corner Floral Birthday - Simon Says Stamp March Card Kit

 Hello! I'm popping in to share my first card using the newest March 2025 Simon Says Stamp Card Kit - Tweet Friend! This month's kit is floral and spring combined in the perfect package! The included stamp set by the same name features some adorable images and sentiments (there is also a coordinating die for this set available separately HERE). There are the most AMAZING bow dies, a fun embossing folderpretty pattern paper...that's all not to mention the cardstock, envelopes, and more! 

The monthly card kit has even more perks now when you sign up for the new Subscription service! There is a video HERE you can watch to learn more!


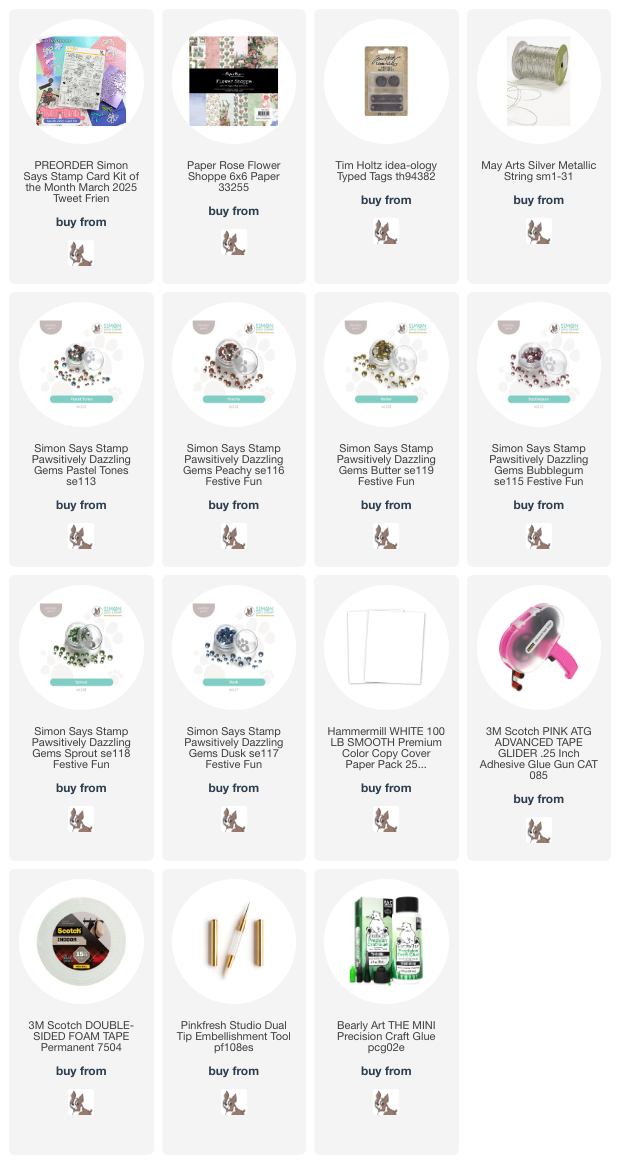
This card is very clean and simple, and very nearly one layer! I started off actually with the Drifting Flowers 3D embossing folder in the kit. I actually messed up the bottom of it (whoops!), so I decided to fussy cut out the large floral at the top. I added some soft ink blending to the same corner of a white cardbase using Rhubarb, Cantaloupe, and Zest inks, then popped that floral upon top with foam adhesive. I stamped some sentiments from the Tweet Friend stamp set on the bottom, adding some florals as well in a nice crisp black. Wrapped some of the Silver Metallic Cord around the card and tied in a bow, rounded off one corner, then embellished with a few Opal Dazzling Gems to finish off! Here are more photos of this card:


Product links are all below - including affiliate links where possible, which simply means that if you use one of the links below, I receive a small commission at no additional cost to you. Thanks so much for supporting my blog, and stopping by! Have a wonderful day!!!


Saturday, February 15, 2025

Elegant Floral Wreath Cards - Simon Says Stamp March Card Kit

 Hello! I'm popping in to share my first card using the newest March 2025 Simon Says Stamp Card Kit - Tweet Friend! This month's kit is floral and spring combined in the perfect package! The included stamp set by the same name features some adorable images and sentiments (there is also a coordinating die for this set available separately HERE). There are the most AMAZING bow dies, a fun embossing folder, pretty pattern paper...that's all not to mention the cardstock, envelopes, and more! 

The monthly card kit has even more perks now when you sign up for the new Subscription service! There is a video HERE you can watch to learn more!


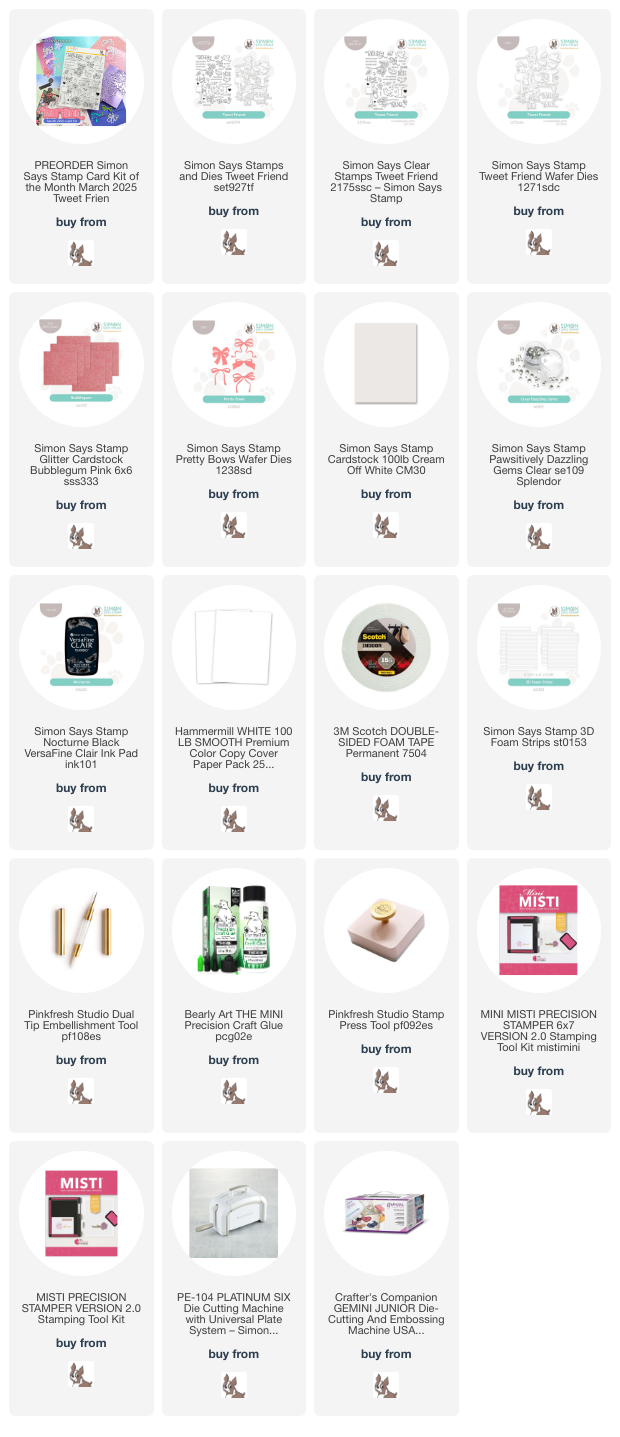
For today's card, I really loved this one particular piece of pattern paper, and wanted to focus on it for my cards! Since it is 6x6, I couldn't fit the entire wreath on an A2 card, and I love splitting wreaths and using them in half, so decided to make two cards! I added an additional strip of pattern paper from the kit tucking under the edge, to add a touch of interest on my white cardbases. Then I grabbed two of the Tim Holtz Idea-ology Typed Tags that were in the kit (BONUS - if you want extra of these, they are on sale 25% off this weekend as part of the Tim Holtz/Ranger sale with code RGR25!), and threaded through some of the fabulous new Metallic Silver String in the kit, wrapping it around, and tying a simple knot on the side. I also tucked a bit of foam adhesive under the metal embellishment to help hold it in place and keep it stable. Finished off with a lovely row of Dazzling Gems from the pastel mix - love the elegant touch it adds! Here are more photos of these cards:


Product links are all below - including affiliate links where possible, which simply means that if you use one of the links below, I receive a small commission at no additional cost to you. Thanks so much for supporting my blog, and stopping by! Have a wonderful day!!!


Thursday, February 13, 2025

Big Hug Bows - Simon Says Stamp March Card Kit

 Hello! I'm popping in to share my first card using the newest March 2025 Simon Says Stamp Card Kit - Tweet Friend! This month's kit is floral and spring combined in the perfect package! The included stamp set by the same name features some adorable images and sentiments (there is also a coordinating die for this set available separately HERE). There are the most AMAZING bow dies, a fun embossing folder, glitter cardstock, pretty pattern paper...that's all not to mention the cardstock, envelopes, and more! 

The monthly card kit has even more perks now when you sign up for the new Subscription service! There is a video HERE you can watch to learn more!


For my first card, I fell in LOVE with the Pretty Bow dies in the kit, not to mention the gorgeous Bubblegum Pink glitter cardstock. So I cut all 5 of the bow options out, and layered them on a panel of white cardstock that I tore around all the edges of for some fun texture. I adhered the bows with a touch of liquid glue in the centers of each one, leaving the rest to float free for dimension. Sentiment was built with the stamp set in the kit, and I used the separately available coordinating dies to cut the larger sentiment out. Mounted the panel on a Cream cardbase, and then added a sprinkle of the smallest Dazzling Gems in clear for some extra sparkle! Here are more photos of this finished card:


Product links are all below - including affiliate links where possible, which simply means that if you use one of the links below, I receive a small commission at no additional cost to you. Thanks so much for supporting my blog, and stopping by! Have a wonderful day!!!


Wednesday, February 12, 2025

Citrus Shine card - Simon Says Stamp

  Good morning! Today I've got a bright and shiny card to share - using a die that I actually have had for a while, and never got a chance to use from Simon Says Stamp - paired with some other supplies to finish the card off.


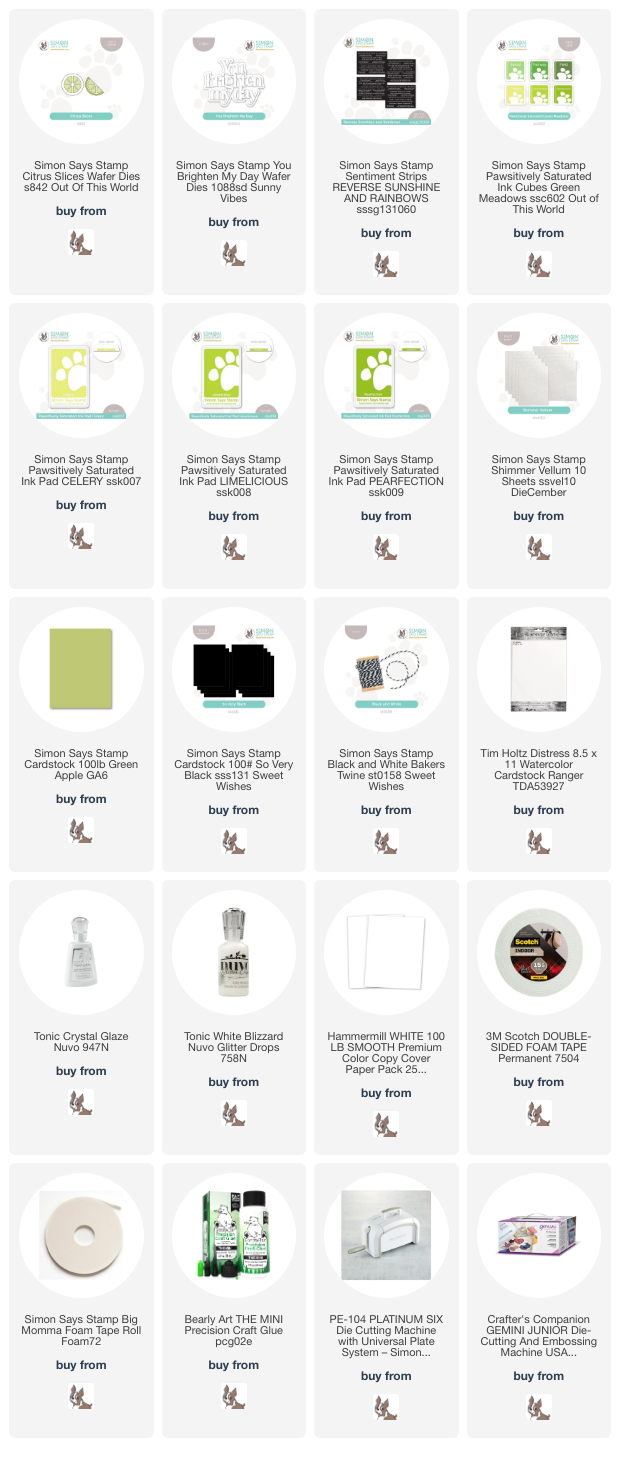
I started by cutting out several of the Citrus Slices die from Green Apple cardstock, and the solid layer from Shimmer Vellum, then layering them and gluing together. For the background, I used some watercolor paper, and used ink cubes in Celery and Limelicious to swipe down from the top of the panel, then misted with water, and let the colors run a bit. I smooshed some Pearfection on a clear block, picked it up with a wet brush, and added some additional splatters for texture. Once it was dry, I layered all the lime slices over top, adhering with liquid glue. I let some hang off the edges of the panel, and trimmed off the excess, reusing the trimmed off pieces as I was able. Sentiment is You Brighten My Day wafer die, cut from white for the shadow layer, then the main layer once each from Green Apple and black cardstock. I adhered those two layers together slightly offset for a shadow effect to make the words pop a bit extra. I added a tiny secondary sentiment over the top from Reverse Sunshine and Rainbows sentiment strips. Then it was time to add some shine! I covered the centers of the lime slices with Blizzard Glitter Drops, and the outside edges of each one - and the main sentiment - with Crystal Glaze. Gave that lots of time to dry thoroughly, then added a twine bow at the top with Black and White Baker's Twine. Here is a closer look at the finished card:


Product links are all below - including affiliate links where possible, which simply means if you use one of the links below that I receive a small commission at no additional cost to you. Thanks so much for stopping by! Have a wonderful day!!!


Tuesday, February 11, 2025

Candles and Embossing Cards - Simon Says Stamp

 Good morning! Today I'm sharing a couple of simple birthday cards featuring embossed backgrounds and the same birthday candle die from Simon Says Stamp - and I love the combination, and how simple these are. Perfect for when you need a quick birthday card at short notice!


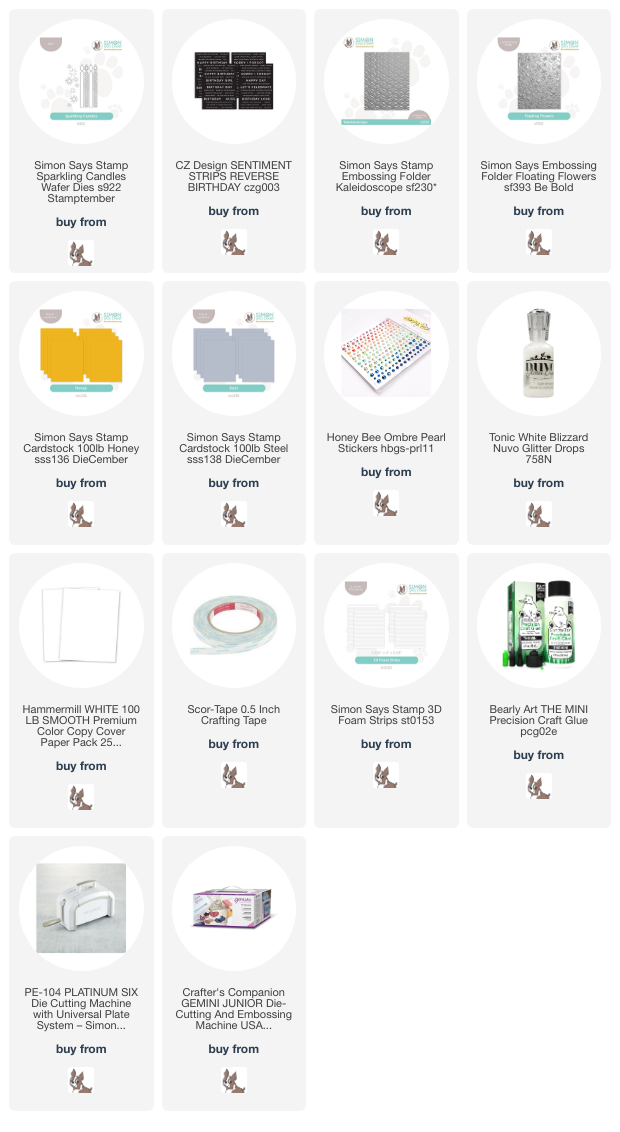
These were even quicker to make, because I had the unused embossed cardstock panels, and the previously die cut and unused candles - so it was mostly assembly, and choosing some sentiments and embellishments! The two embossed backgrounds are Kaleidoscope embossing folder on Steel cardstock, and Floating Flowers on Honey cardstock. The candles were die cut using Sparkling Candles wafer dies. I used the solid version on one card, and the more intricate ones on the other. Sentiments for both cards came from the Reverse Birthday Sentiment Strips, and the pretty pearls are Honey Bee Ombre Pearl Stickers (which I love)! Finally, I added some sparkly Nuvo Blizzard glitter drops to the solid candle flames for a touch of sparkle. Here is a closer look at these:


Product links are all below - including affiliate links where possible, which simply means if you use one of the links below that I receive a small commission at no additional cost to you. Thanks so much for stopping by! Have a wonderful day!!!


Monday, February 10, 2025

Double Embossed and Ink Blended Cards - Simon Says Stamp

Good morning! Today I've got a couple cards to share using a fun double embossing technique! I'm using supplies from Simon Says Stamp to demonstrate it - I'm also sharing a reel on Instagram today showing this technique in action! You can check out my page HERE if you want to see it!


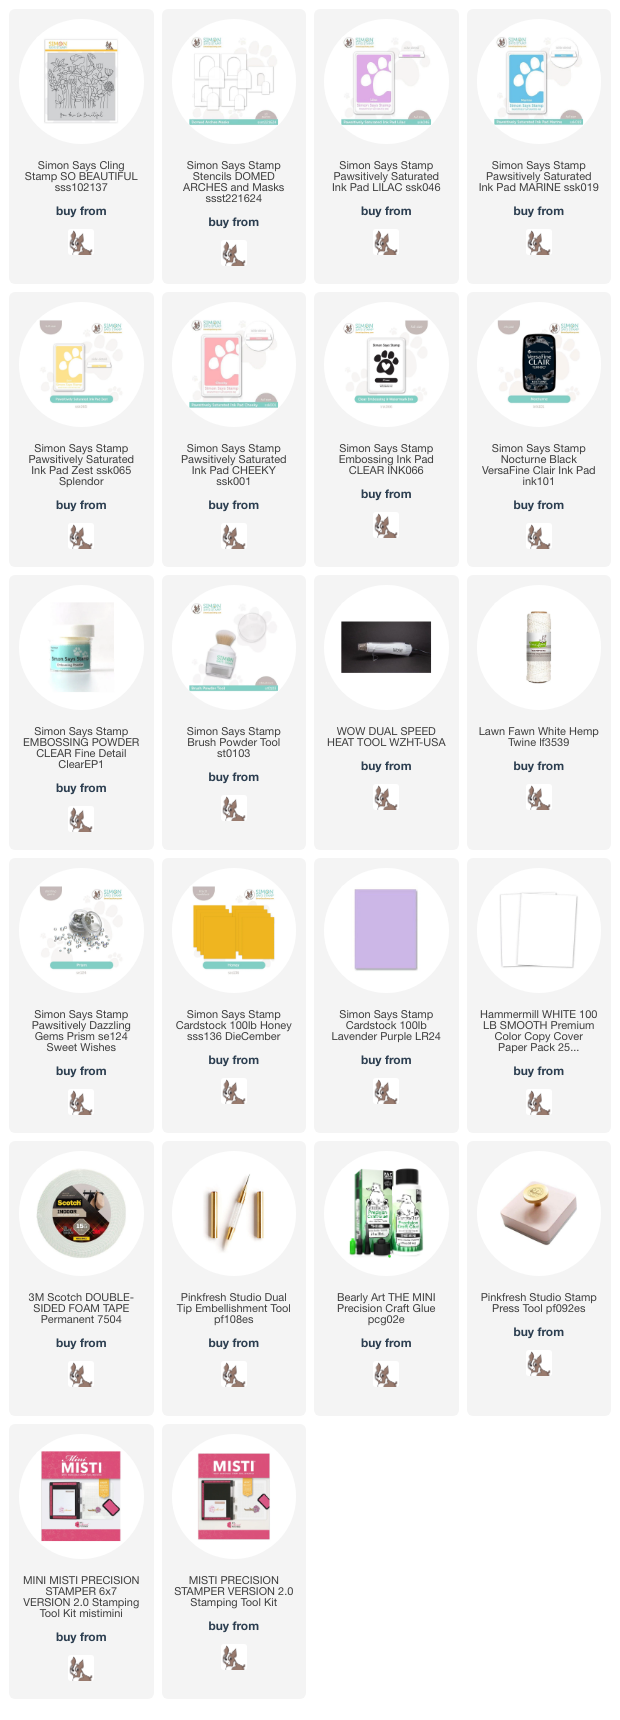
The fun of this technique, is that it makes the florals and sentiment one layer, but heat embossed! I started by stamping the floral So Beautiful cling background in clear embossing ink, then immediately switched over to the sentiment, to stamp in black Nocturne ink (which is great for heat embossing as well). THEN, I sprinkled clear embossing powder over both those stamped images all at once. When heat set, the flowers because basically invisible, and the sentiment is clear shiny black. Next, I used the Domed Arches Stencils over the top, and ink blended in a couple shades of ink on each card - Lilac and Marine on the first one, and Zest and Cheeky on the second one. Pulling off the mask reveals a beautiful arched design with the flowers, and the sentiment fitting so it overlaps that area. Magical! Finished off with some twine, coordinating cardbases, and a few Dazzling Gems in Prism for sparkle! Here is a closer look at these:


Product links are all below - including affiliate links where possible, which simply means if you use one of the links below that I receive a small commission at no additional cost to you. Thanks so much for stopping by! Have a wonderful day!!!