Good morning! I'm back to share yet another card using the BRAND NEW Favorite Things Release from Simon Says Stamp from last week. This one is all about a gorgeous coverplate, and a simple, neutral, and elegant color palette!
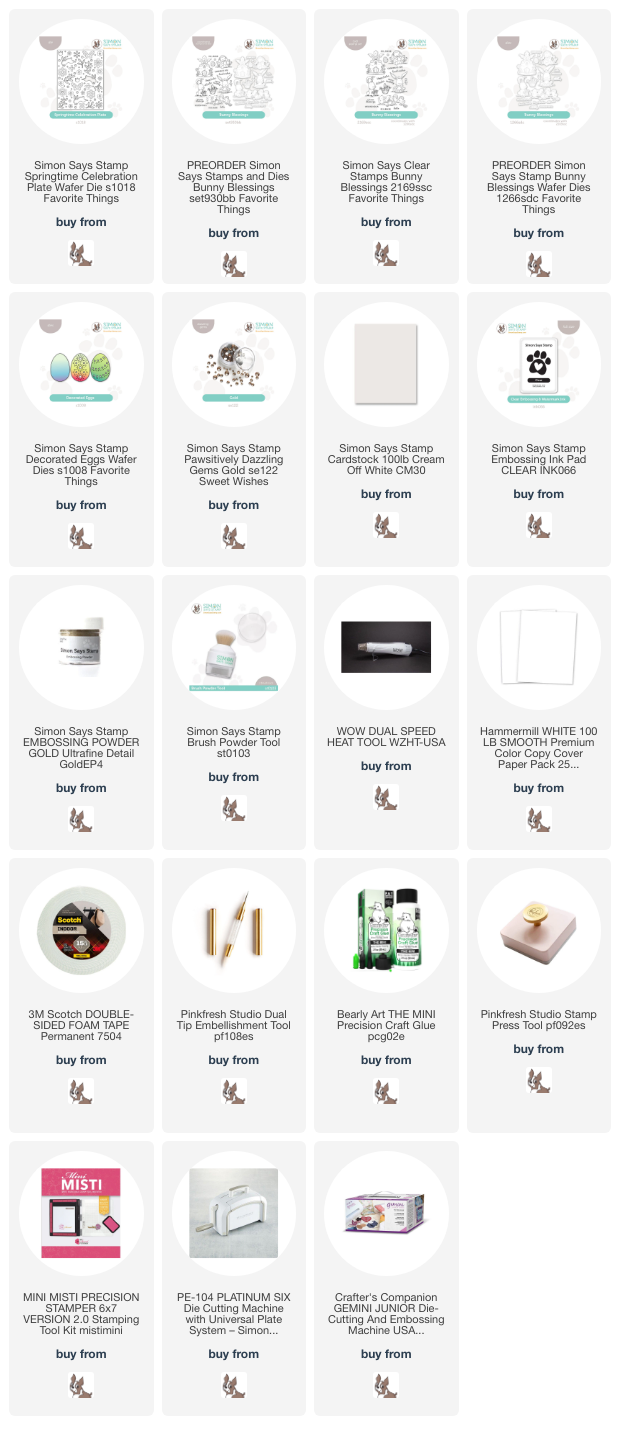
The new Springtime Celebrate plate die is such a super fun one! You get a pretty die cut background panel, and then can use the detailed die cuts for another card. But I thought it would be fun to combine them both on one card! I die cut the panel from white cardstock, then mounted it on a Cream cardbase. I then pieced back in some of the flower pieces, and popped the little bunnies up on bits of foam adhesive. I took a few of the die cut eggs from Decorated Eggs wafer die, and nestled them into the design, adding a few of the extra die cut floral pieces over the edges for some added embellishment. Sentiment is from Bunny Blessings stamp set, heat embossed in gold, then die cut out with the coordinating dies. Finally, I went a bit crazy with the Gold Dazzling Gems to glam this card up a bit! Here are more photos and close ups of the details of this card:
Product links are all below - includingaffiliate links where possible, which simply means if you use one of the links below that I receive a small commission at no additional cost to you. Thanks so much for stopping by! Have a wonderful day!!!
Good morning! I'm back to share another card using the BRAND NEW Favorite Things Release from Simon Says Stamp from last week. I have a particularly soft spot for sheep - my mom loved them, and collected them in every way possible! My mom passed away last year 6 days after her 77th birthday last year, so her first birthday in heaven is this coming Sunday. So, this card is one that I know she would have loved so much!
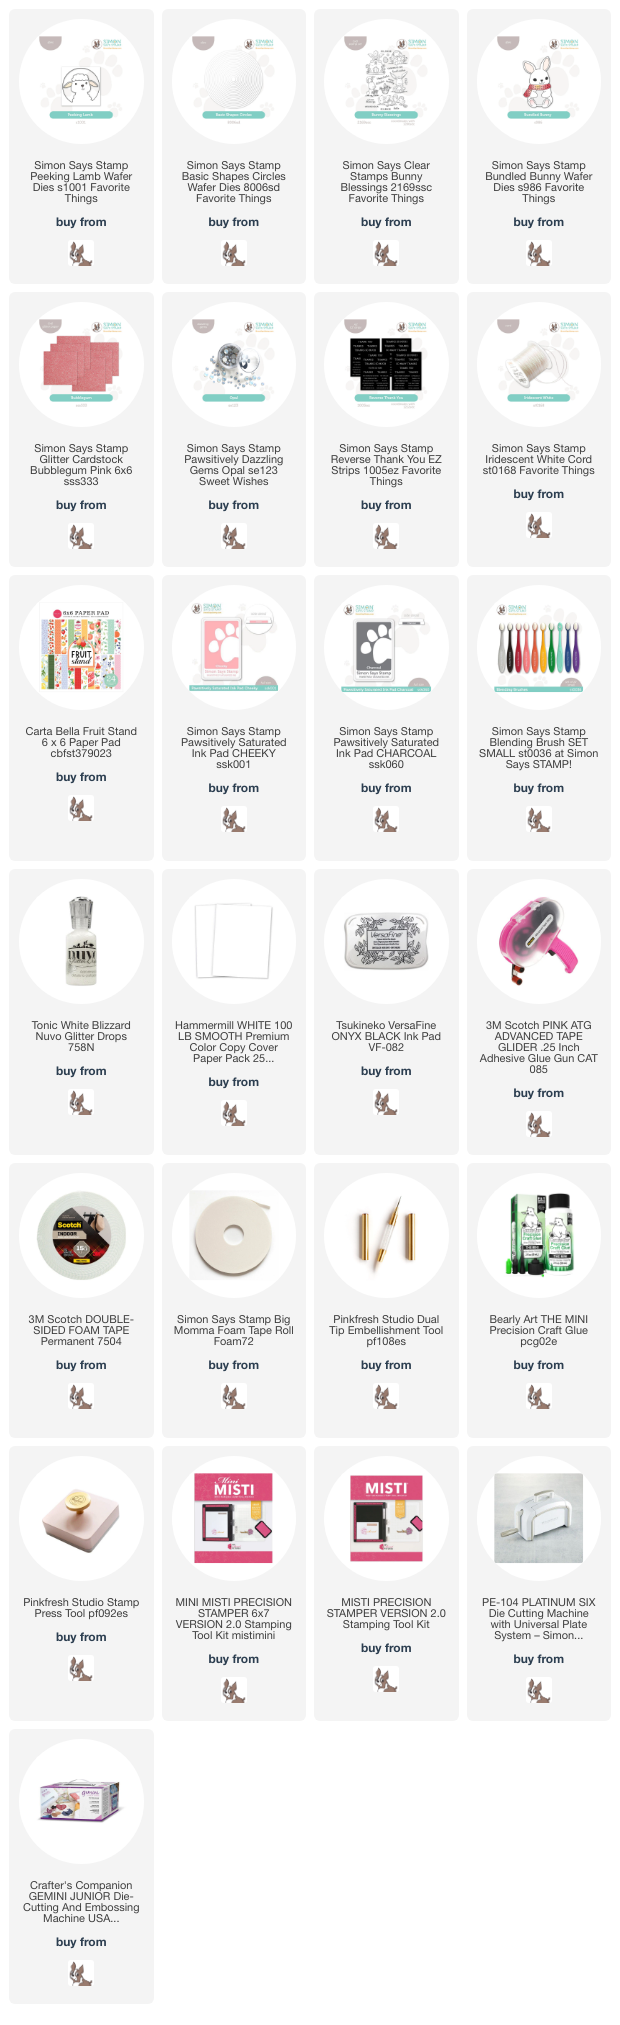
I used the adorable new Peeking Lamb die, and paired it with one of the new Basic Shapes Circles to create a center element. I added the scarf from Bundled Bunny die (LOVE that it is a perfect fit for this lamb as well!) - cut from the new Bubblegum glitter cardstock, and stamped the birthday sentiment from Bunny Blessings on the circle. For the background, I layered up some pattern paper, adding torn edges for some texture, and then wrapped around some of the new Iridescent White Cord and tied in a bow. It is so pretty and sparkly - love it! I mounted the sheep circle over the top with foam adhesive, then added an extra sentiment from Reverse Thank You EZ strips sentiments, added some glitter drops to the top of the sheep's head, and finished off with a few Opal Dazzling Gems. Here are more photos of this sweet little card:
Product links are all below - includingaffiliate links where possible, which simply means if you use one of the links below that I receive a small commission at no additional cost to you. Thanks so much for stopping by! Have a wonderful day!!!
Good morning! Earlier this week I did a YouTube live on my YouTube channel, using some supplies from Simon Says Stamp, and mostly focusing on some adorable press plates from Spellbinders that I had ordered recently and couldn't wait to break out and use. I shared how to do letterpress and hot foiling on pattern paper - and as you can see, I may have gotten carried away! I didn't end up finishing any cards in the live, but I had ALL of these panels created, and easily finished putting them together in a couple hours that afternoon. Not a bad investment of time for 10 cards, right? I've got TONS of photos below with close ups of everything, so keep reading for more details!
Here is the live video if you want to see these panels all come together, or you can watch it directly on YouTube HERE:
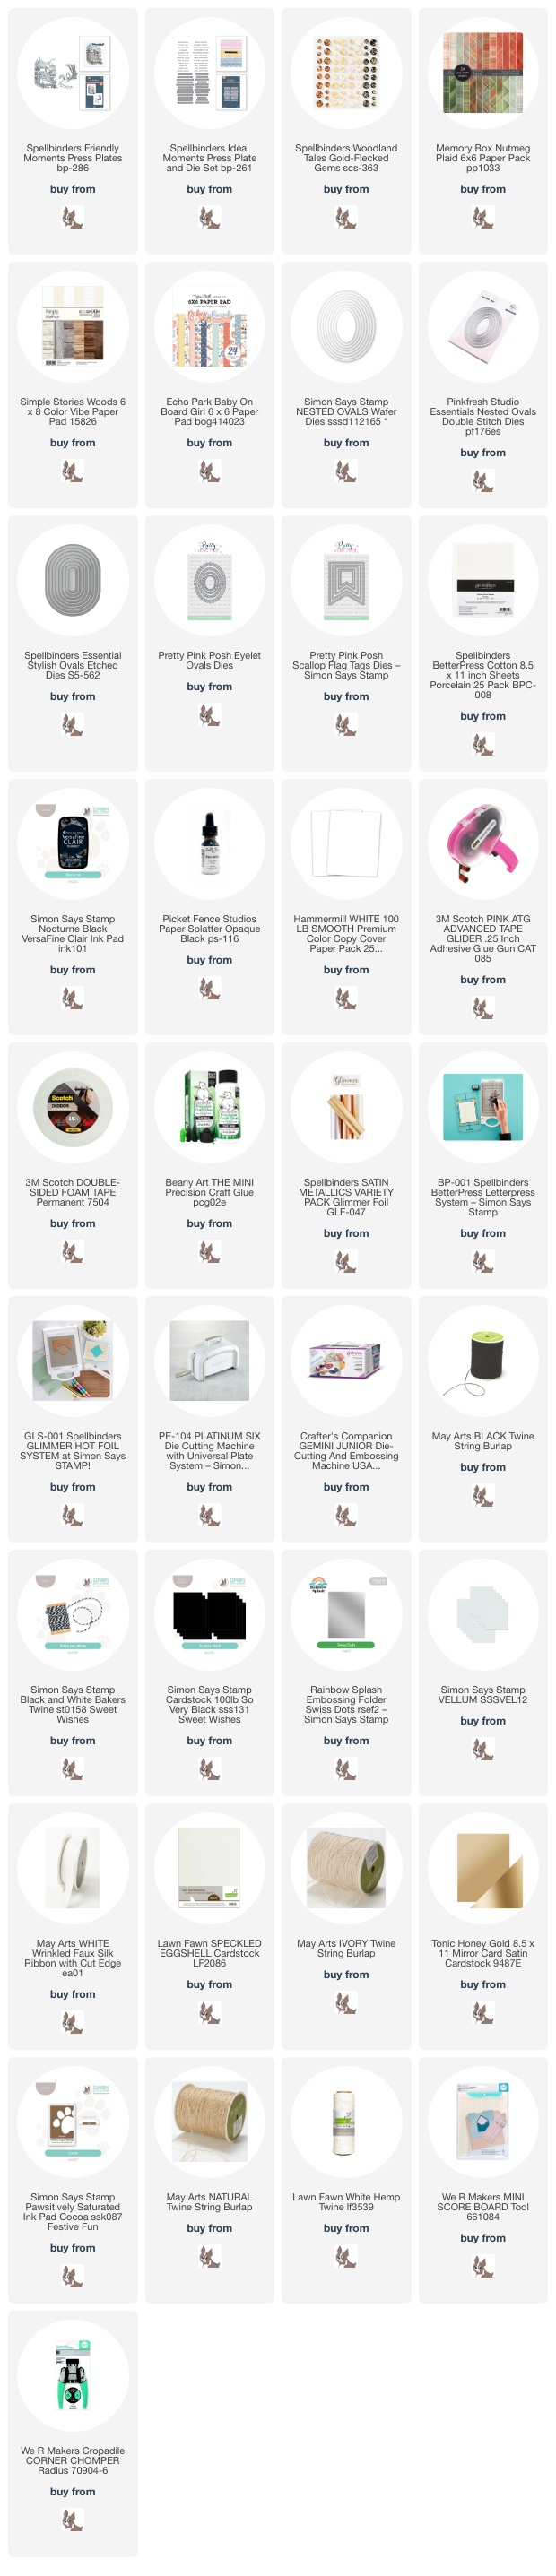
All of these cards feature the Friendly Moments and Ideal Moments press plates from Spellbinders. Winnie the Pooh is such a nostalgic feeling for me, and I love these images, and how perfectly they work for a variety of sentiments! They are all each also embellished with Woodland Tales gold flecked gems for some simple sparkle that works for both feminine and masculine cards.
These first cards I used Woodgrain pattern paper to press the image in black, then die cut with Spellbinders Stylish Ovals and Simon Says Stamp Nested Ovals. I did some black splatters on the cardbases with Picket Fence Opaque Black paper splatter, and rounded one corner off on each card. I added either Black and White bakers twine, black jute string, or thin strips of black cardstock to each card - just to add some interest and texture to them! And a variety of sentiments to these cards - see what I mean about the variety of card themes these images work for? Here are more photos of these first 3 cards, keep scrolling for more details on the rest of the cards I'm sharing here today:
And of course, with Winnie the Pooh, baby cards are a must, right? For these, I used some different pattern paper - oddly enough, both from a Baby Girl theme pattern paper pad, but created one that would work for a baby boy as well as a baby girl! For one, I did letterpress with black ink, for the other, I used Aura hot foil on the pattern paper. I used two different Pretty Pink Posh dies - Eyelet Ovals, and Scallop Flag Tag, trimming the pattern paper to fit inside the outer frame with my scissors. I used Speckled Eggshell cardstock from Lawn Fawn for my cardbases for some subtle contrast. I used Simon Says Stamp Swiss Dots embossing folder with vellum to add some extra fun texture on these - I LOVE that embossing folder with vellum! A bit of May Arts Wrinkled Faux Silk ribbon finish off these sweet baby versions of this set. Here are photos of these two cards:
And yes, there is of course more! One of these is letterpressed in black on some Plaid pattern paper, and the other is that woodgrain pattern paper again but instead of black ink, I used Simon Says Stamp Cocoa ink - I was happy to find out that the Pawsitively Saturated inks work well with the Betterpress system! For that card I again used the Pretty Pink Posh Scallop Flag Tag dies, and for the other card I used Pinkfresh Studio Nested Double Stitch Ovals, layering together with some white cardstock and Honey Gold satin metallic cardstock. Some May Arts jute twine in Ivory and Natural finish these cards off. Here are photos of these two cards:
These next two cards are both hot foil, and use the Satin Metallics foils. The one on the woodgrain paper didn't show up as well as I hoped - I think either a darker foil, or lighter paper would work better. But I did love how the one on the plaid paper came out! To help the woodgrain paper pop more, I blended some of that Cocoa ink from the last pair of cards over the edges. I die cut that one with the Simon Says Stamp Nested Ovals die, and then actually flipped the negative piece over, and used the outer edges to frame the woodgrain - love double sided pattern paper! For the other card, I used Spellbinders Stylish Ovals die, adding a white shadow layer. The cardbase is Ivory, and I added some score lines for texture on the background, then used the reverse of some of that extra cardstock to adhere under the left corner of the card layer. Added some Lawn Fawn White hemp twine to one card as well. Here are more photos of these cards - the angles help show the foiling a bit better:
And finally - one more card to share. This is kind of a bonus - the letterpress panel was something I had done before the live, just to test that the theory worked. :) I used deep gray ink on gray pattern paper from an older paper pad. I had the reverse of the negative space from the last card above leftover, so I added a layer of white to frame it, and had a bonus card! Used a bit of that Lawn Fawn white hemp twine on here as well. Here are photos of this final card:
Product links are all below - includingaffiliate links where possible, which simply means if you use one of the links below that I receive a small commission at no additional cost to you. Thanks so much for stopping by! Have a wonderful day!!!