Showing posts with label Jingle Bells. Show all posts

Thursday, August 31, 2017

STAMPtember! Jingle Stencil Merry Christmas

Hello! The brand new STAMPtember Release from Simon Says Stamp with is live and ready for you to shop! YAY! I have this little card to share with you using one of the new stencils and distress ink to make a simple holiday card!


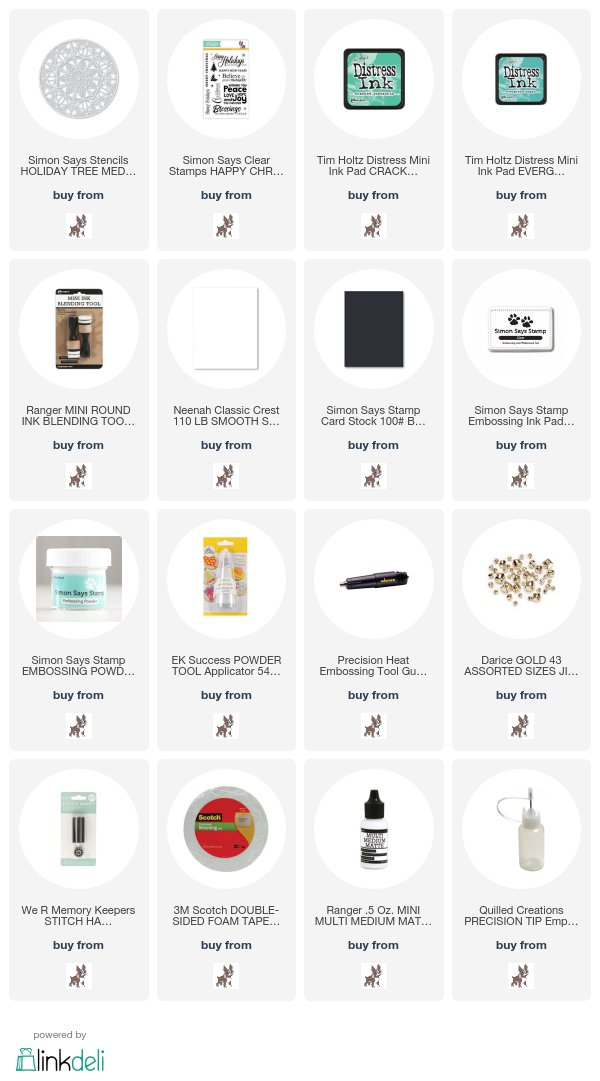
I used the brand new Holiday Tree Medallion Stencil to create my card - paired up with Cracked Pistachio and Evergreen Bough Distress inks - laying down the deepest color in the center, and fading toward the edges.


I added a simple heat embossed sentiment from a previously released stamp set, and then for fun, used some black thread to add some little jingle bells hanging down under the sentiment and tied with a bow at the top. So fun and festive that way!


Product links are all below - including affiliate links where possible, which simply means if you use one of the links below that I receive a small commission at no additional cost to you. Thanks so much for stopping by! Have a wonderful day!!!


Thursday, November 17, 2016

Reverse Confetti - Crazy For Christmas - Decor and More

Good morning! This week Reverse Confetti is doing a fun little event called Crazy for Christmas, to help get you in the mood and inspired for your holiday crafting! Each day is a different theme, and today we are focusing on Decor! I decorated a couple of fun little acrylic ornaments that I found at my local Michael's store:


Here is the info! Make sure and check out all 3 days to see all the ideas!


For this first one, I used Jingle All the Way Confetti Cuts to die cut a piece of Masking Paper to create a stencil. I carefully adhered just the "Jingle" word to my ornament, then used Gold Glitter Paste to add the word to my ornament, and carefully peeled off the stencil and allowed it to dry before filling with a few gold and silver jingle bells.


The second ornament I die cut a whole PILE of snowflakes using Snowflake Trio Die, carefully fit them in the ornament opening and then flatted them out inside with my finger before adding some silver tinsel glitter to add to the sparkly fun.


Here are the Reverse Confetti products I used on these ornaments - click on the picture if you want to learn more about either of these items!


Here is the list of everyone participating today - so you can check out all the fun and creative projects out there!

Product links (or similar equivalents) are all below - including affiliate links where possible, which simply means if you use one of the links below that I receive a small commission at no additional cost to you. Thanks so much for stopping by! Have a wonderful day!!!


Tuesday, November 15, 2016

Reverse Confetti - Crazy For Christmas - Treat Tubes

Good morning! This week Reverse Confetti is doing a fun little event called Crazy for Christmas, to help get you in the mood and inspired for your holiday crafting! Each day is a different theme, and today we are focusing on Treat Tubes! I'm super excited about how my fun little tubes came out! Heehee! And BONUS: they are SUPER easy to make, so would be wonderful for mass producing or a quick gift when you don't have much time - or even for kids to make as gifts!


Here is the info - there are two more days of inspiration ahead! Make sure and stop by every day to see all the ideas!


A few days ago as I was brainstorming ideas for decorating these treat tubes, the idea of a snowman popped into my head as I was going to bed - I couldn't wait to sit down and actually put it together! It is filled with some yummy white coated chocolate mintes from Trader Joe's, then I cut one tube end using black cardstock to form the hat, and tied it with some twine and jingle bells. Added a strip of felt wrapped around and glued in place, then added wiggle eyes and a tiny carrot nose made by trimming out a tiny piece of orange cardstock.


Next up, I wanted something super fast to tuck into my husband's suitcase as he was leaving on a trip, so I die cut one of the treat toppers, added the ribbon, and stuck on a couple of wiggly eyes. I was able to hide it so he didn't find it until he got there and unpacked at his hotel! Heehee! When I made this one, I thought it would be fun to add this sentiment, kind of like he was holding this sign in his hands - the wiggly eyes give him a kind of freaked out look that went perfect with the sentiment! Haha!


Here are the Reverse Confetti products I used on this card - click on the picture if you want to learn more about any of these items!


Here is the list of everyone participating today - so you can check out all the fun and creative projects out there!

Product links are all below - including affiliate links where possible, which simply means if you use one of the links below that I receive a small commission at no additional cost to you. Thanks so much for stopping by! Have a wonderful day!!!


Tuesday, October 18, 2016

Paper Pieced Ornaments with Copic and Gel Pen Accents

Good morning! Today I thought I'd share the follow-up video using this month's Kit of the Month from Unity Stamp Company - same cards as yesterday, just different colors, and this time the Quick Tip video is on how I added shading and dimension to my paper piecing with Copics and a white gel pen!


Here is the video:


And here is a closer look at each of them - isn't it fun how the Copic markers almost make it look like you have done more layered paper-piecing?


And seriously - paper pieced plaid ornaments? SOOOO fun!!!


Product links are all below - including affiliate links where possible, which simply means if you use one of the links below that I receive a small commission at no additional cost to you. Thanks so much for stopping by! Have a wonderful day!!!